
Purpose: To merge duplicate names records.
Launch Point: This routine can be launched from the following location(s):
•Names → File Maintenance → Routines Drop-Down Menu →
Note: launch the routine from the name you want to delete.
Example: Start by opening the name record that you want to delete. Then go to names → file maintenance → routines drop-down menu → delete and merge name. When the routine is launched a window will open
Locate the name record you want to merge the record to delete into. Click OK and the merge window will open.
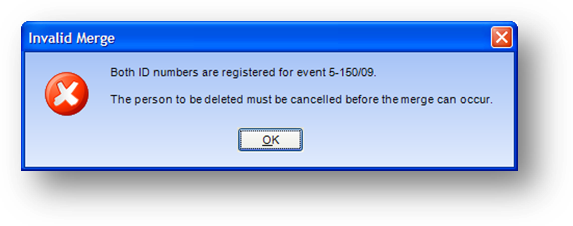
If there is conflicting or duplicate data on one of the records that would cause the merge to not be performed, you will get a message. In this example both people are registered for the same event. Follow the instructions in the message and then start the routine again.
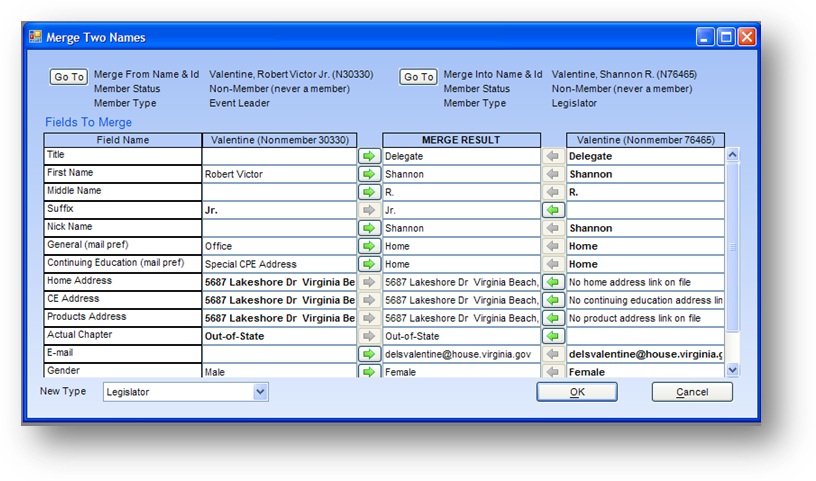
When the merge window opens, the record to be deleted is shown in the upper left of the window. The record to merge the data into is shown in the upper right of the window. If you need to view the name file maintenance record for either, just click the Go To button to the left of the name.
The system determines what data to keep from the merge into record and what to bring in from the record to be deleted. That data can be seen in the Merge Result column. The arrows on the sides of this column denote which record the data is coming from. If you want to change the data that will be in the record being kept click the green arrow to change which record the data will come from.

For example, the system wants to retain the suffix ‘Jr.’ on the record. Note that the arrow on the left of the Merge Result column is gray, showing that the data is coming from the record on the left. If you want to retain the data for this field from the record on the right, click the green arrow on the right of the Merge Result column. The value of the Merge Result field will now equal the value in the right-handed record. In this case it would be set to blank. The system also has determined to retain the General and Continuing Education mail preferences as “home”, from the record on the right. To change those values to office and special CPE address, respectively, click the green arrows on the left of the Merge Result column for both fields.

The type that will be on the name record after the merge is shown in the New Type drop-down in the lower left corner of the window. To change the type on the record being kept, select it from the New Type drop-down list.
When you are sure that you have everything set the way you want, click OK to perform the merge.
Note: This is a very powerful routine in that it will be deleting a record and moving transactions. Be sure that you have selected the desired records before clicking OK to perform the merge. Once a record is deleted from the system, it cannot be undone.
Note: When the merge is performed financial transactions (accounts payable, dues, contributions, event registrations, product sales, miscellaneous cash, peer review) along with these other data records (committee service, legislative contact, external CE, leader, legislator, log, email, marketing, integrations, and documents) on the name being deleted are moved to the name record being kept. A file maintenance history record is also added showing there was a merge and the name ID that was deleted.
Watch the Delete and Merge Name video: