Purpose: Shows pairs of names file maintenance records that may be duplicates of each other. For records determined to be duplicates, the delete and merge name routine can be launched from this routine. A pair of names can also be flagged as not being duplicates of each other to lessen the number of records needing to be reviewed in the future.
Launch Point: This routine can be launched from the following location(s):
•Names à Routines à Special Routinesà
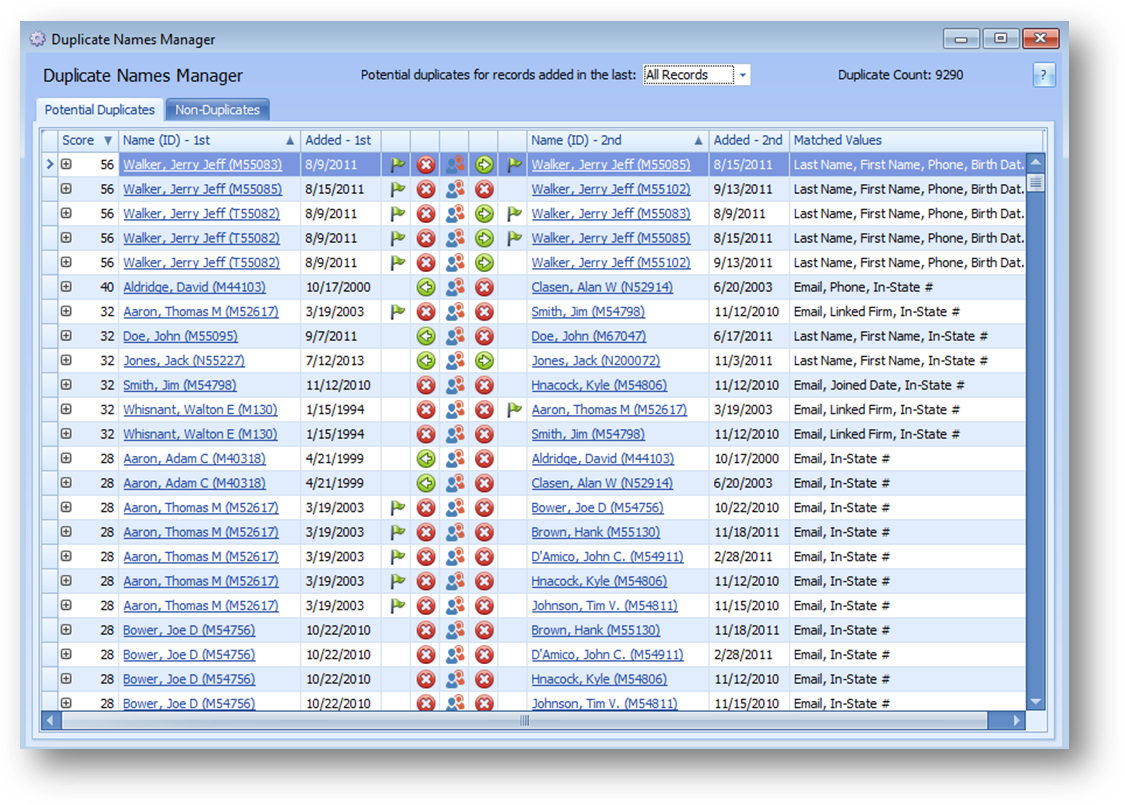
Example: When the routine is launched a window will open

By default names records added in the last 7 days, which are potential duplicates, are shown in the grid on the Potential Duplicates tab. Use the Potential duplicates for records added in the last to change the names available to work with in the grid.
Note: If your association has not kept up with merging duplicate records there may be a large number of potential duplicates in the routine initially. To help manage the number of records to work through, it is suggested to start with those added in the last 7 days. Once that list has been handled, work through those added in the last 30 days and so on through 90 days, 12 months, and so on until you get to all records. At that point records shown for all records will only be those added more than a year ago. Once all records have been handled, this routine then can be run weekly, with the default 7 Days setting, or monthly using the 30 Days setting which should be a small number of records to review.
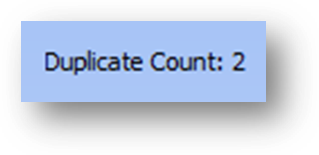
The Duplcate Count shows a count of pairs of names on the Potential Duplicates tab for the selected Potential duplicates for records added in the last date filter.

The Help button, which has the question mark, will open documentation on the routine.
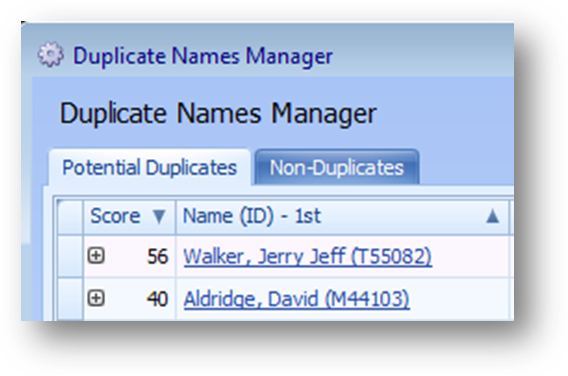
Duplicate Names Manager is made up of two tabs. The Potential Duplicates tab displays pairs of names records which are potential duplicates that are not in the non-duplicate list. The Non-Duplicates tab displays pairs of names records that have been flagged as non-duplicates of each other.

On the Potential Duplicates tab, the grid is grouped by pairs of names and sorted on their match Score, Name (ID) – 1st, then Name (ID) – 2nd by default.
The parent row displays a match score for the pair of names. The data matched on, which generates the score, is shown in Matched Values.
The scoring is done as follows:
In-State # - 16
AICPA Number - 16
Email - 12
Phone - 12
Last
Name - 8
First Name - 8
Birth Date - 8
Home Address - 6
Linked Firm - 4
Joined Date - 4

Note: Name (ID) is link text that can be used to open the Names record.
Click on the plus sign to the left of the parent row or double-click on the indicator cell for the parent row, which is to the left of the grid row, to see the child showing additional information for each name record.
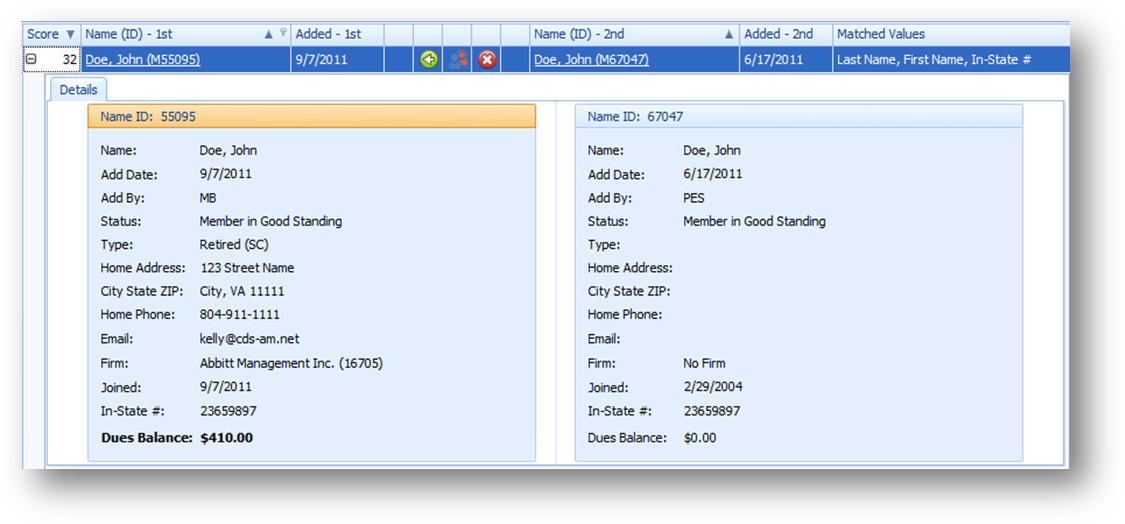
Select information from the name record is displayed in the child.
Note: Data on the record that will stop a merge is shown in bold. In the example above the dues balance on the name on the left will stop a merge into the record on the right.
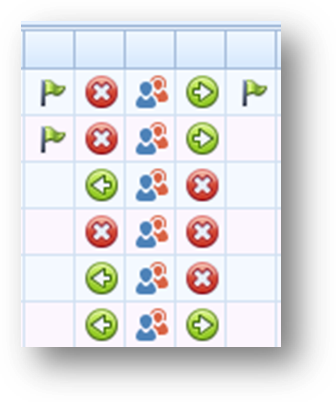
The five columns in the center of the grid show information about the pair of records, allow for launching of the Delete and Merge Name routine, and for adding the pair of names to the non-duplicate list.
To see information related to an icon, either hover the mouse over an icon or click on an icon.
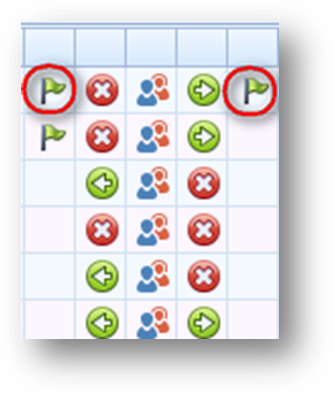
If the record in the Name (ID) – 1st column has a names flag, the flag icon is shown in the far left column.
If the record in the Name (ID) – 2nd column has a names flag, the flag icon is shown in the far right column.
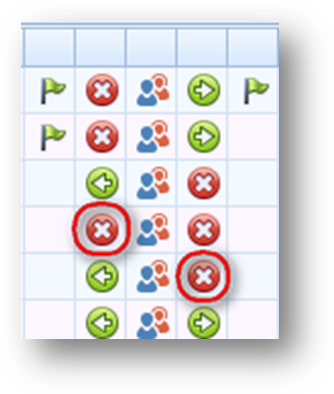
When a red X icon is shown in the left column a merge of Name (ID) – 2nd can’t be performed into Name (ID) – 1st. When a red X icon is shown in the right column a merge of Name (ID) – 1st can’t be performed into Name (ID) – 2nd. Hover the mouse over the icon or click on the icon to see the reason why.
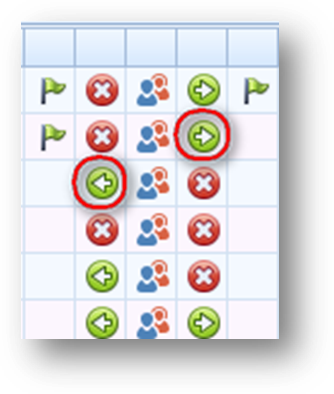
If a merge can be performed a green arrow icon is shown.
Before performing a merge be sure to review the records to verify that a merge should be done or if the pair of names should be marked as a non-duplicate.
If it is determined that a merge should be performed, a review of which record can or should be deleted and merged into the other also needs to be done.
Clicking the green arrow icon in the left column will launch the Delete and Merge Name routine for merging Name (ID) – 2nd into Name (ID) – 1st. Clicking the green arrow icon in the right column will launch the Delete and Merge Name routine for merging Name (ID) – 1st into Name (ID) – 2nd.
Note: Which green arrow icon is clicked is what determines which name record will be the Merge From record and which will be the Merge Into record in the Delete and Merge Name routine which is why it is important to review the records prior to clicking the icon to launch the merge routine.

If after reviewing, it is determined that the pair of name records are not duplicates of each other, click the icon in the middle column to add the pair of records to the non-duplicates list.
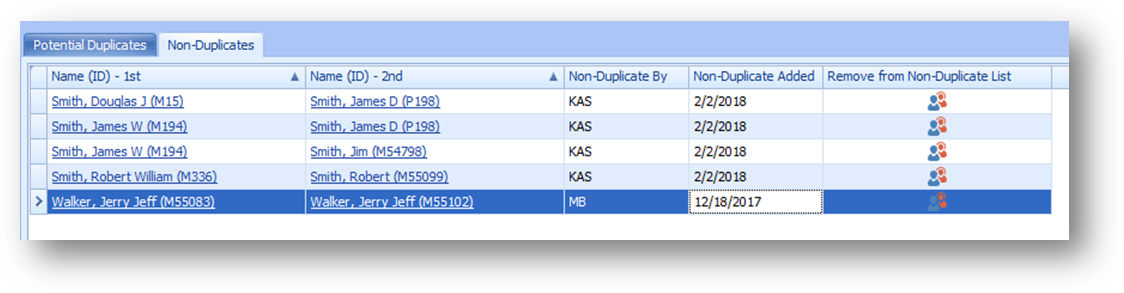
All name pairs moved to the non-duplicate list are shown on the Non-Duplicates tab.
On the Non-Duplicates tab, the grid is grouped by pairs of names and sorted on Name (ID) – 1st, then Name (ID) – 2nd by default.
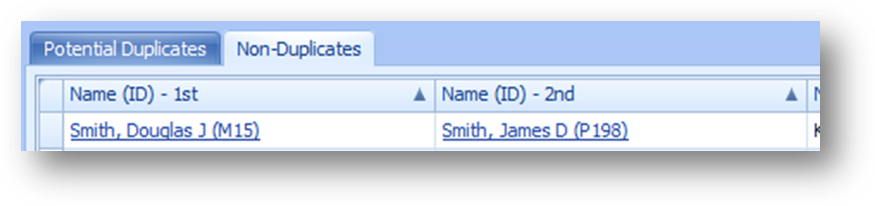
Note: Name (ID) is link text that can be used to open the Names record.
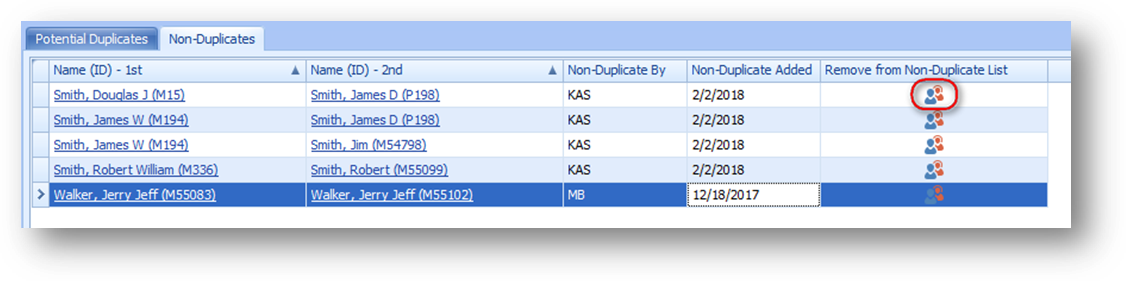
If a pair of records was moved to the Non-Duplicates tab by mistake, or should no longer be flagged as a non-duplicate, click the icon in the Remove from Non-Duplicate List.

In the grids an arrow appears in the header to reflect whether the sorted values are in ascending or descending order.
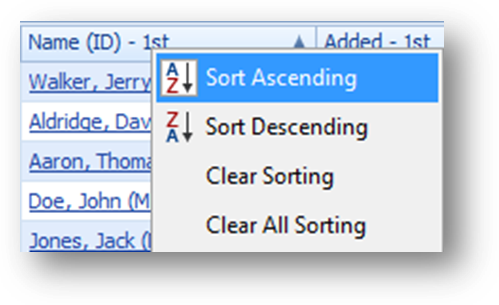
To add fields to the sort, either hold down the Shift key and click another column header, or open the context menu on another column and select one of the sort options. The information in the grid will then be sorted based on the first column and then the second column.
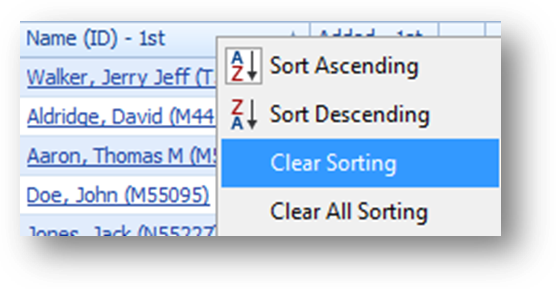
To clear the sorting from a column, right-click on the header row of the field to open the context menu, and select Clear Sorting.
There are two tools for filtering the records displayed in the grids. Column Filtering and Filter Editor.
Column Filtering is an easy way to filter the records shown in the grid. For more advanced filtering, use Filter Editor.
When a filter has been set, a filtering row is shown at
the bottom of the tab where the filter is set.
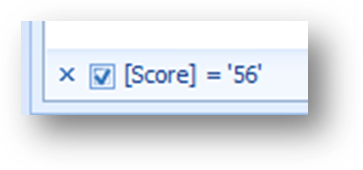
The current filter criteria is shown in the left of the filtering row.
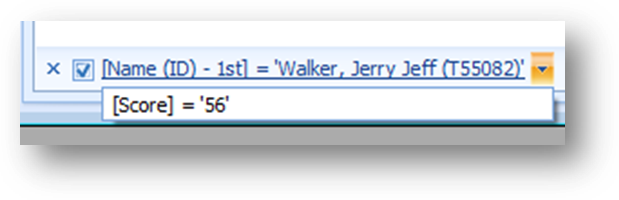
When the filter criteria is changed, previous filter criteria can be selected by clicking the down arrow to the right of the current filter criteria, or clicking on the filter criteria text.
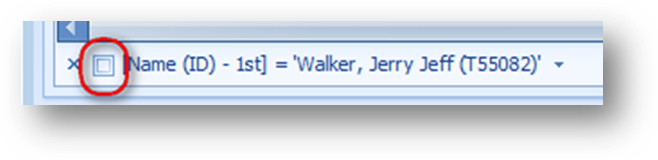
To un-apply the current filter criteria, uncheck the box to the left of the current criteria text.
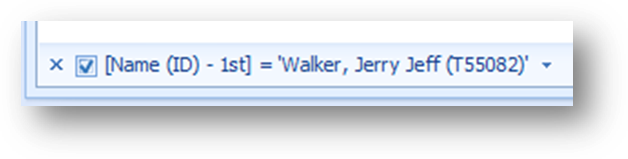
To apply the filter again, check the box.
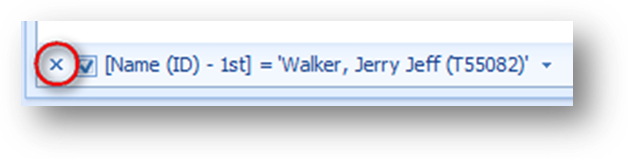
To clear all filtering on the tab click the ‘X’ in the filtering row.
This will both clear the current filtering on the tab and close the filtering row. The previous filter criteria history is not cleared. The next time a filter is set the previous filter criteria will be shown again.
Note: The filtering is specific to the tab applied to, so if you have filtering set on multiple tabs, will need to clear the filtering on each tab independently.
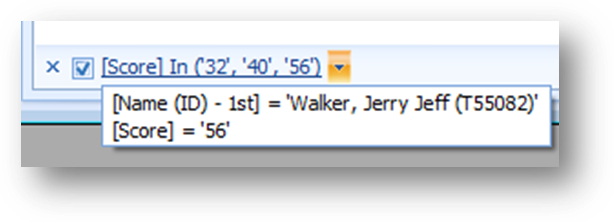
To remove a previous filter criteria from the list, first open the list of recent filters by clicking the down arrow to the right of the current filter criteria, or clicking on the filter criteria text.
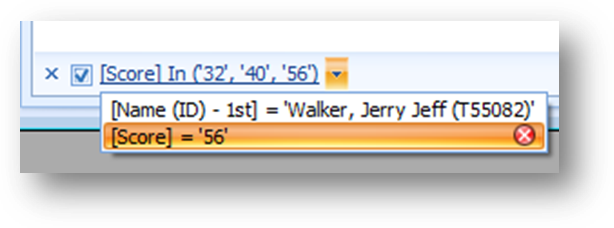
Then highlight the previous filter to be removed. When highlighted, a red circle with an ‘X’ is shown at the far right of the listing. Click the red circle to delete the previous filter from the list. Note: the current filter can’t be removed this way.
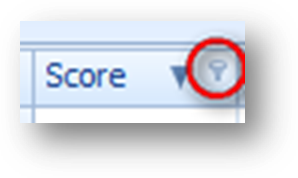
If a field can have Column Filtering applied, when you hover your mouse pointer over the field you will see a filter icon in the upper right corner.
Click on the filter icon and a filtering window will open.
The filtering window you see will depend on the type of field working with.
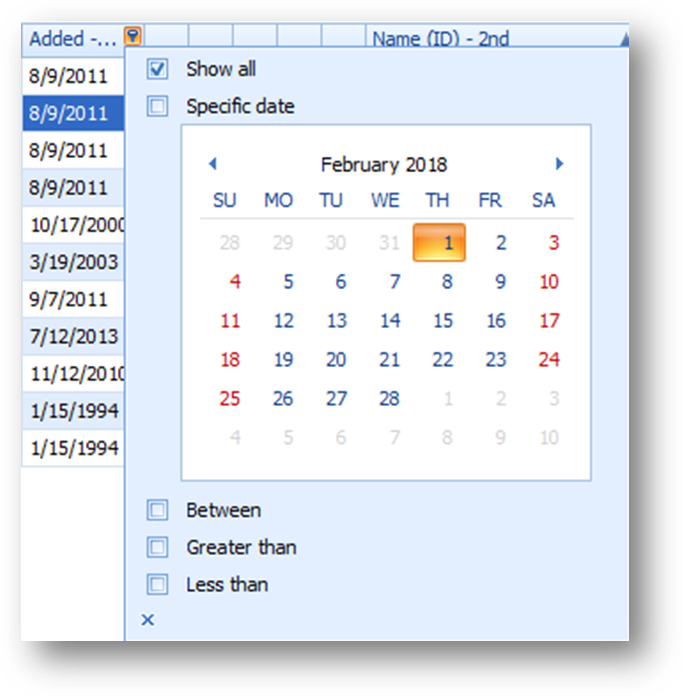
For date fields there are options for Show All, Specific Date, Between, Greater Than and Less Than.
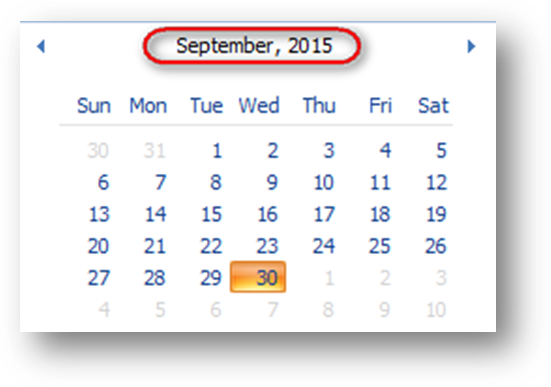
Hint: To move quickly to a different month of year, click on the label showing the month and year.
The calendar will change to show all 12 months for the year. To change month, click on the desired month.
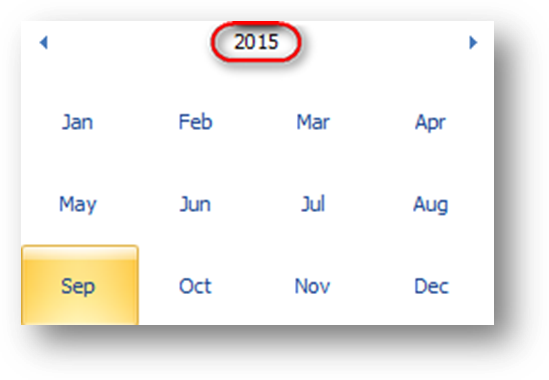
Click on the label showing the year.
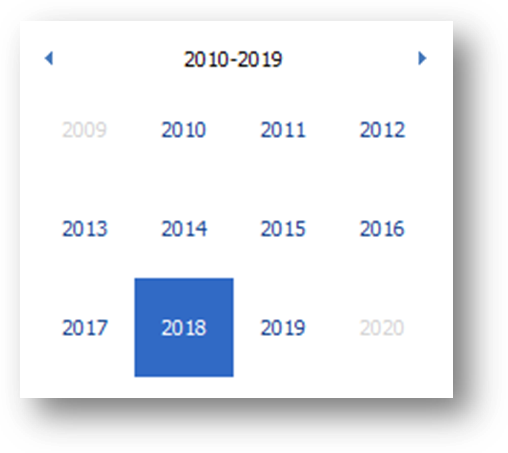
The calendar will change to show multiple years. To change the year, click on the desired year.
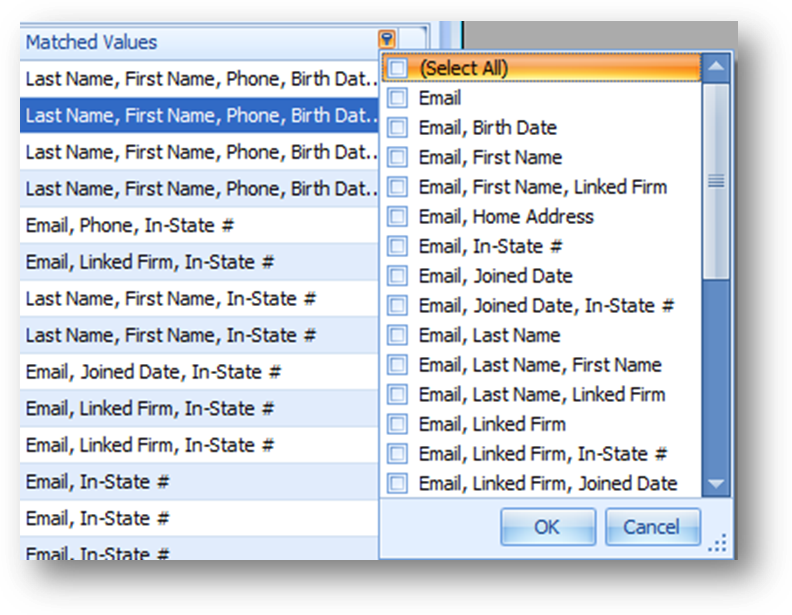
For all other fields a list of check boxes for unique values in the field along with Select All will be shown.
To filter for records that have a particular value, select the value from the list. If you check the box for multiple listings, records with any of the checked values will be shown.
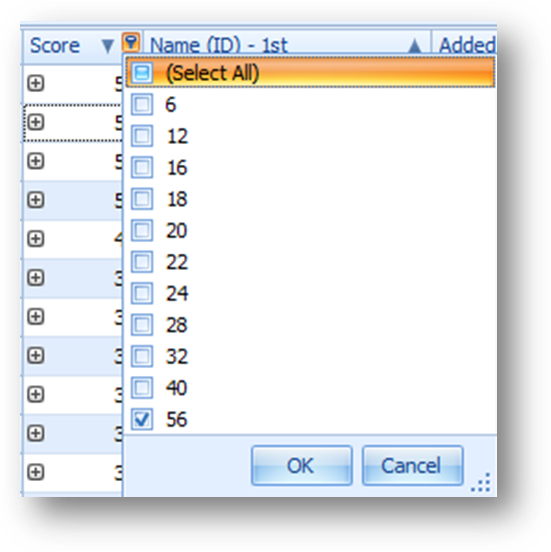
In the example above, “56” was selected from the Column Filter drop down list on Score. This limits the records already displayed in the grid, to those which have a score of “56”.
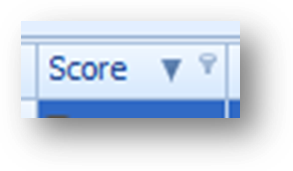
When a Column Filter has been applied to a field the filter icon is shown on the header when not hovering your mouse over the header.
For more advanced filtering use Filter Editor. Note: a column filter must be set for the filter editor to be available.
When there is an existing filter on the tab, click Filter Editor in the right corner of the filtering row on that tab.
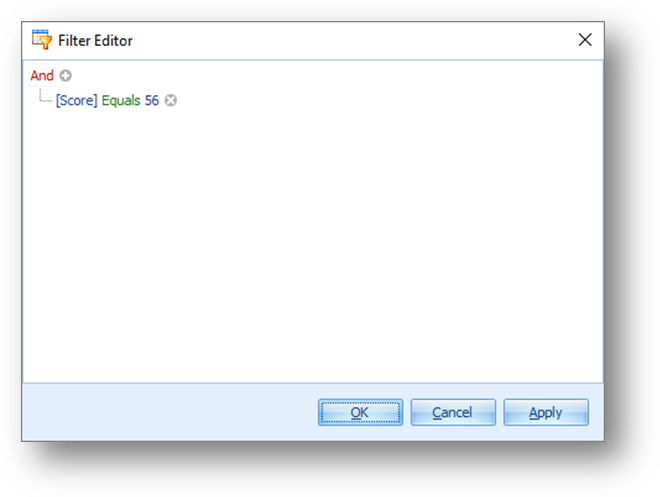
When the Filter Editor is opened any filters already applied using Column Filter will be shown.
Hint: All filtering can be cleared by clicking on the operator text to open the context menu and select Clear All. Then click Apply or OK.
When using Column Filter, OR is always entered between values selected in a field and AND is always entered between fields with filters.
For example, if using Column Filter, two listings are selected for Score and two listings are selected for Name (ID) – 1st, the filter is Score 1 OR Score 2 AND Name (ID) – 1st 1 OR Name (ID) – 1st 2.
In Filter Editor there is flexibility in where you put And/Or as wll as having access to other comparison values.
Below are the basic functions when working in Filter Editor.
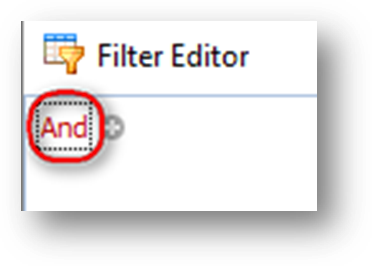
To change the operator setting, click on the operator text to open the context menu. The options are And, Or, Not And, and Not Or.
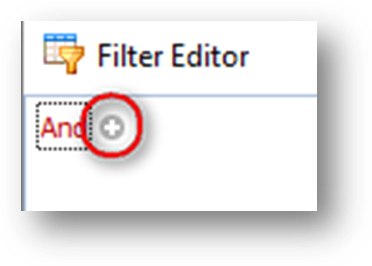
To add a condition, click on the add condition button to the right of an operator.
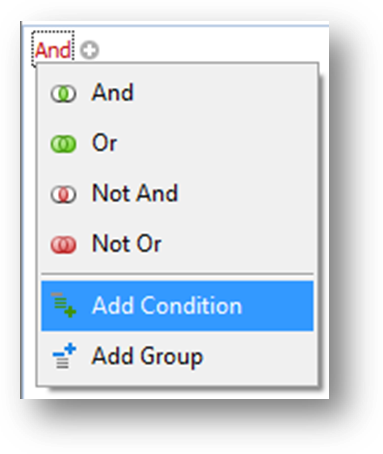
Or select Add Condition from the context menu.

A new condition line will be added to the group.
A condition is comprised of the field, comparisons value, and compared value.
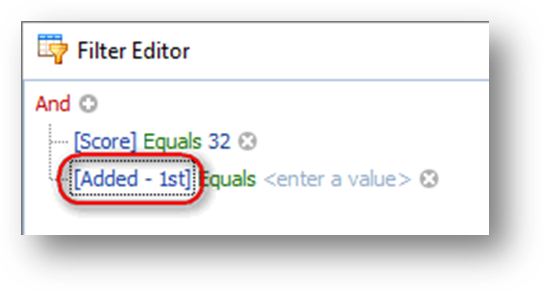
First set the field to work with. Click on the field text to open a list of available fields to work with.

Then set the comparison value. Click on the comparison text to open a list of available comparison values. The available values will vary depending on the type of field selected.
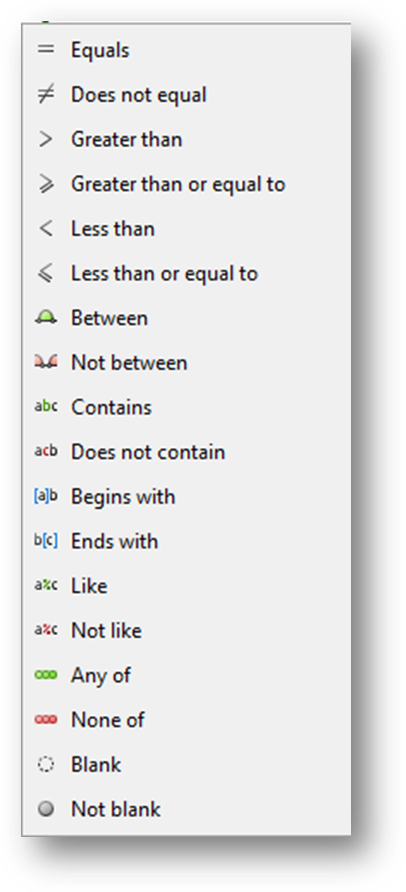
These are the comparison values for a text field.
Hint: When using a comparison value of Like or Not Like ‘_’ can be used to filter for any single character or ‘%’ to filter for any series of characters. For example if you are looking for an event code that has ‘4’ within it, select Is Like and enter a value of ‘%4%’. To find events where the 2nd character is ‘4’ enter a value of ‘_4%’.
Hint: When using a comparison value of Any of or None of an additional Insert icon (a circle with a plus sign) will be shown to the right of the comparison value. After setting the first value, use the insert icon to add a new item to the list in the condition.
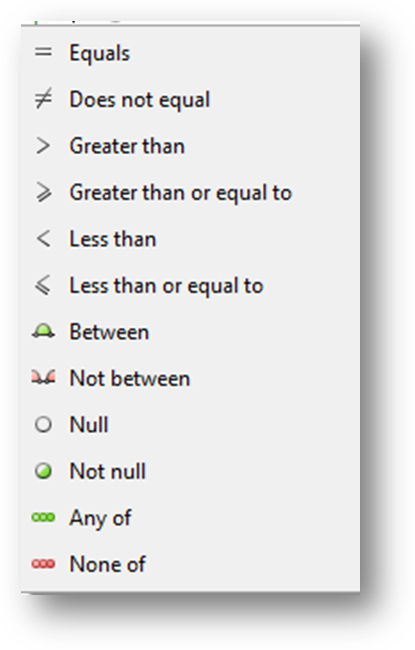
These are the comparison values for a numeric field.
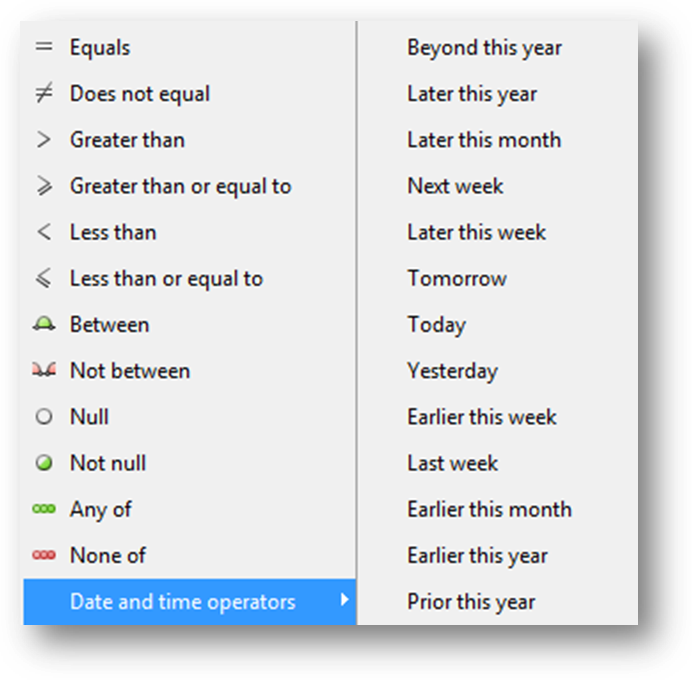
These are the comparison values for a date field.

Then set the compared value.
When working with a date field, in addition to being able to enter text, click the down arrow to open a calendar control.
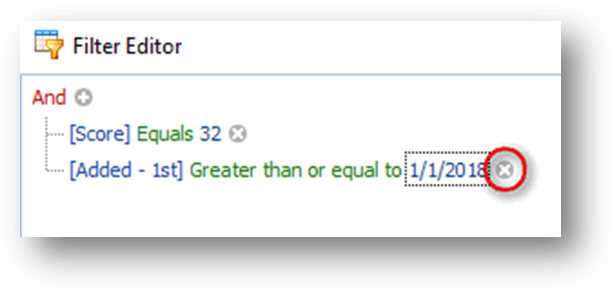
To delete a condition click the delete icon at the right of the condition.
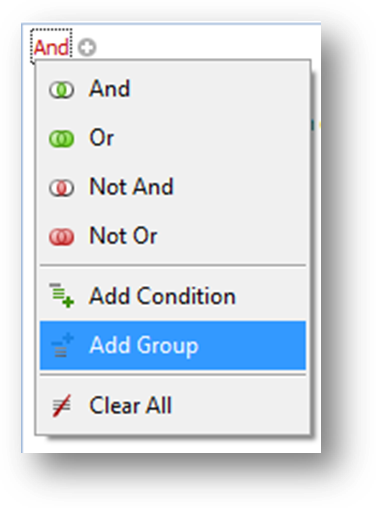
To add a group, click on the operator and select Add Group from the context menu.
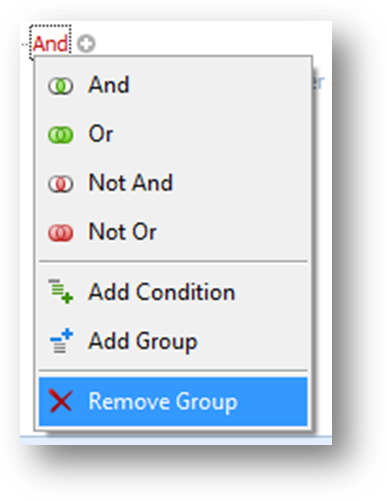
To remove a group, click on the operator for the group and select Remove Group from the context menu.
Note: Remove Group is not available in the context menu on the root (top) operator.
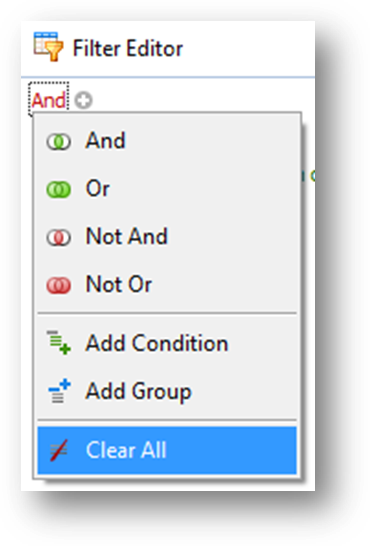
To clear everything in the Filter Editor, click on the root (top) operator, and select Clear All from the context menu.
Note: When adding filter criteria it is best to map out the entire filter first including where the And/Or will be placed and the groupings needed. Some parts of the structure, once set, can’t be changed.
A filter group is a set of conditions combined by the same operator. The example below contains two groups combined by the OR operator.
Example: To look for Added – 1st is greater than or equal to 5/1/2017 AND Score is greater than or equal to 40 OR Added – 2nd is greater than or equal to 5/1/2017 AND Score is greater than 40.
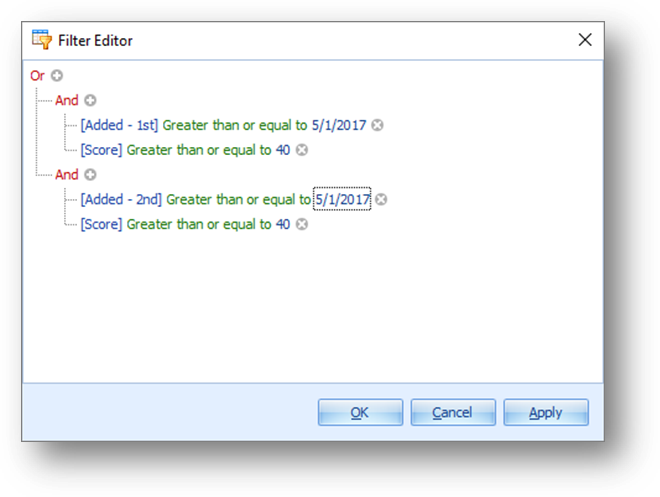
The filter Filter Editor would look like this.
Hint: The lines show which conditions are combined by the operator.

So in the example above, the line under AND which has branches going to the two conditions, shows that the two conditions are combined by that operator. Which for this group means that the conditions for Added 1st and Score are combined by AND.
In this group the conditions for Added 2nd and Score are combined by AND.

The line under OR, which has branches going to the two groups, shows that the two groups are combined by that operator. Which in this example, means the two groups are combined by OR.
This example consists of two groups, each with two conditions. The conditions in each group are combined by AND, while the two groups are cobined by OR.
This is how to create this filter in the Filter Editor.
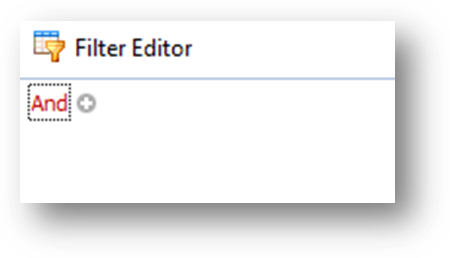
Set a column filter on a field. Open the filter editor. Either clear that condition or edit as needed. In this example the existing filter was cleared to start with a blank filter editor window.
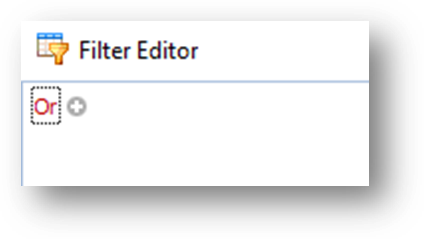
Click on the root (top) operator to open the context menu and select OR.
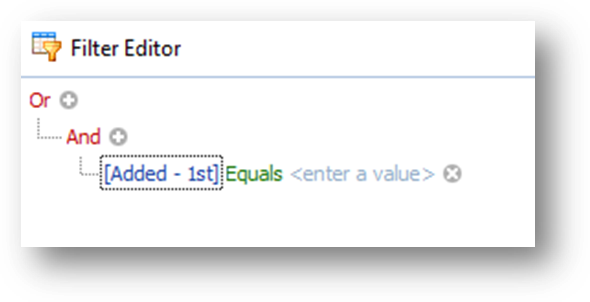
Click on the root (top) operator to open the context menu and select Add Group.
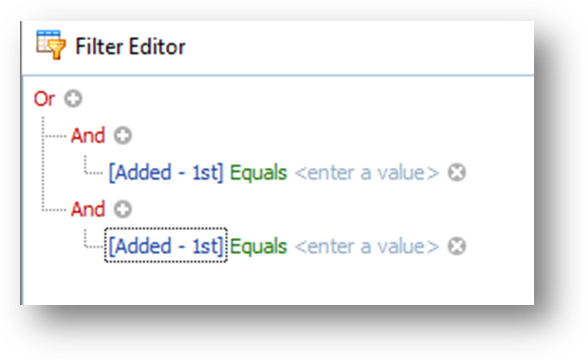
Click on the root (top) operator again to open the context menu and select Add Group.

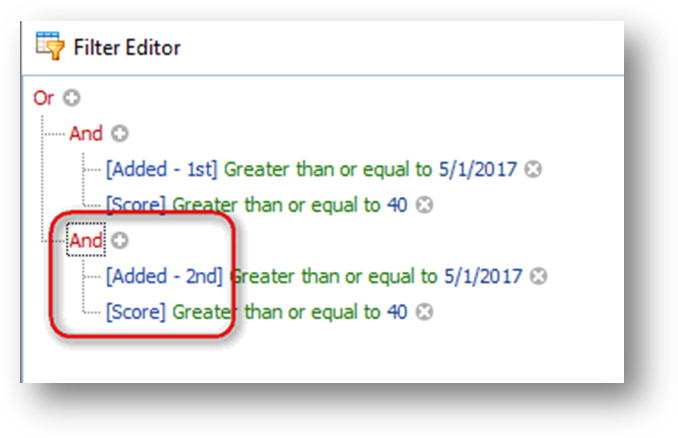
On the AND operator of the top group, add a second condition by either clicking to open the context menu and selecting Add Condition, or click on the circle with the plus to Add Condition.
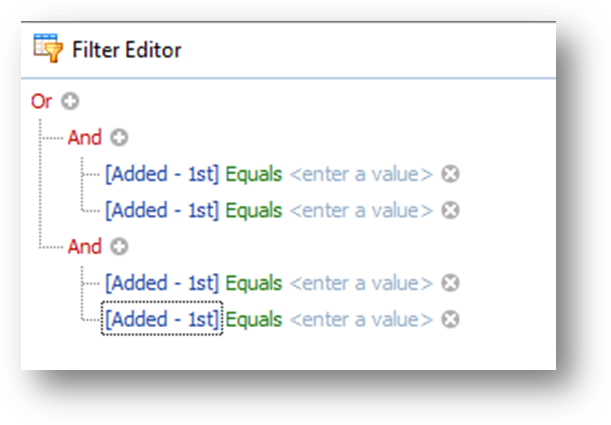
On the AND operator of the bottom group, add a second condition by either clicking to open the context menu and selecting Add Condition, or click on the circle with the plus to Add Condition.
That gives you the structure of the filter. Now set the fields to work with, comparisons and values.
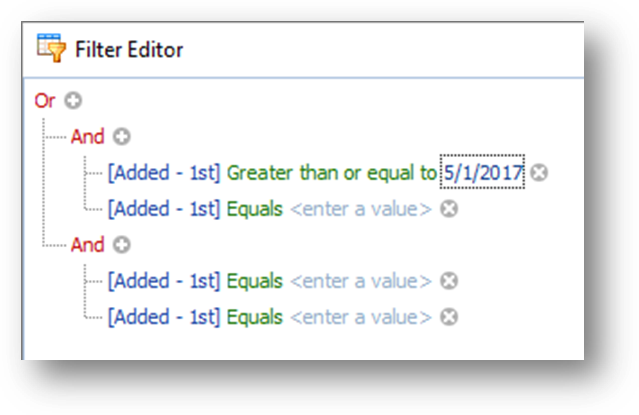
Set the first condition in the top group, as field is Added – 1st, the comparison of Greater Than or Equal To, and the value to 5/1/2017.
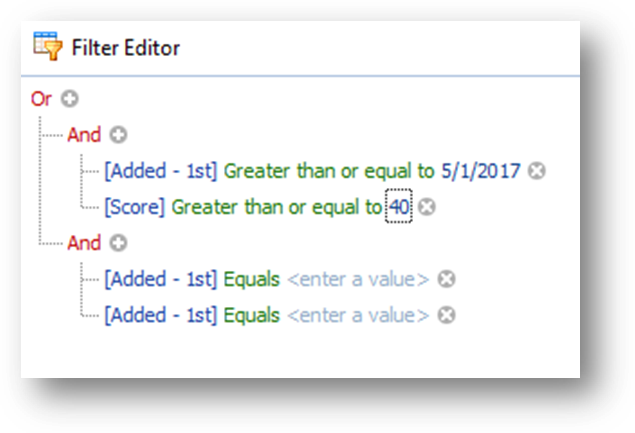
Set the second condition in the top group, as field is Score, the comparisosns of Greater Than or Equal To, and the value to 40.
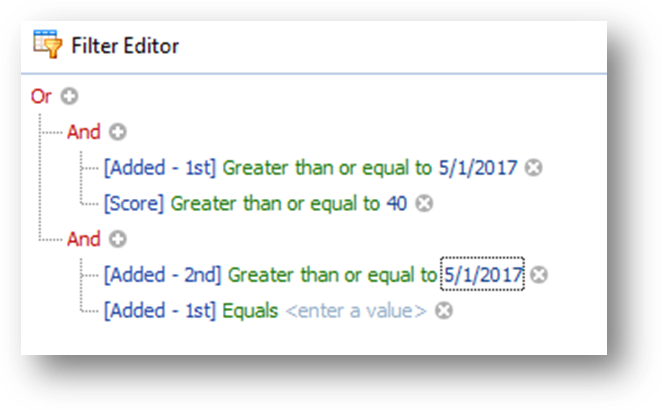
Set the first condition in the bottom group as, Added – 2nd, the comparison of Greater Than or Equal To, and the value to 5/1/2017.
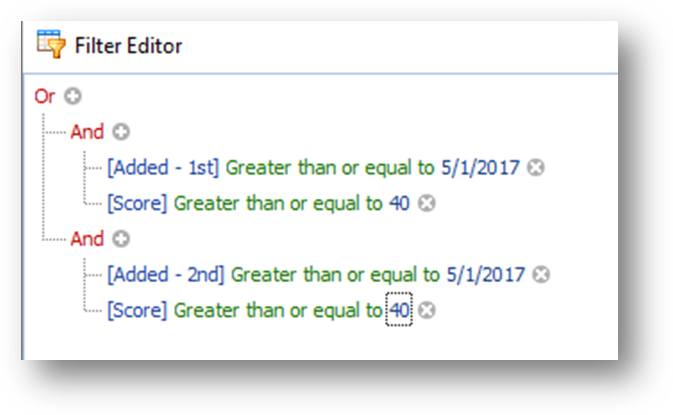
Set the second condition in the bottom group as field is Score, the comparisons of Greater Than or Equal To, and the value to 40.
Click Apply to apply the filter and leave the Filter Editor open, or click OK to apply and close the window.