Purpose: To specify the records to be selected in the report or view.
Launch Point: The selection criteria window is available from a wide variety of reports and views.
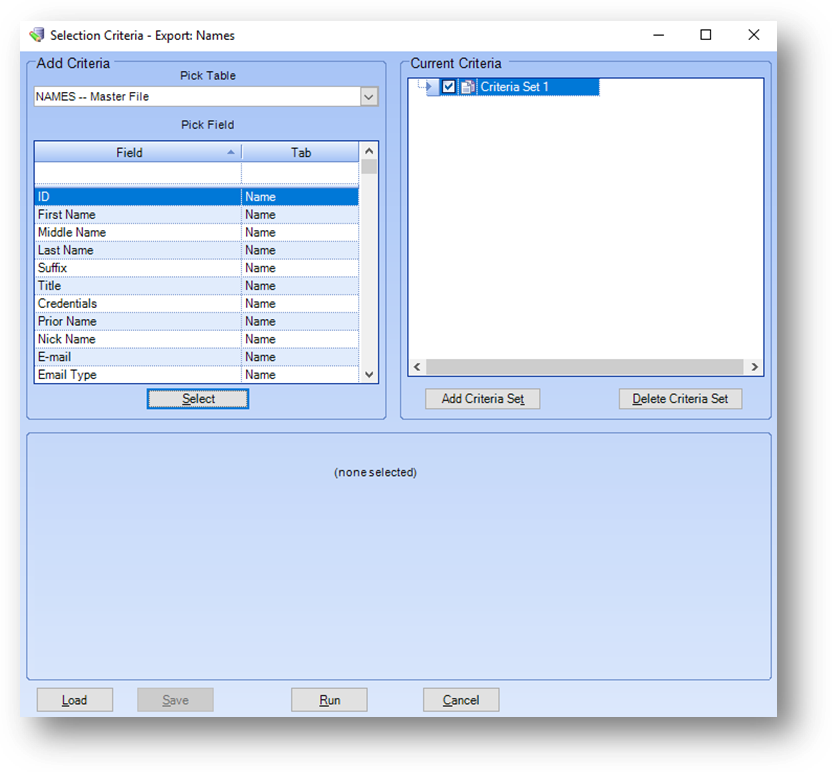
Example: When selection criteria is launched this window will open
As you create the criteria sets, you are building a query that the system will use to pull records. For each criteria set, you are starting with all the records in the database. As you add fields to the criteria set, you are filtering down the number of records that will be returned. It is important to keep in mind where the “and” and “or” are placed in the criteria as you build your criteria set(s).
Note: To be able to fully utilize the selection criteria window, you need to know what data is in your system and how that data is kept. The integrity of the data also plays a large part in the quality of the results you will get.
Within a criteria set
Field
AND
Field
Multiple values selected for a field
Value OR Value
Generally, within a criteria set, there is an “and” between each field. However, for fields that allow for multiple selections, there is an “or” between each of the selections within the field.
Between criteria sets
Criteria Set 1
OR
Criteria Set 2
In between each criteria set is “or”. So, each time you add a new criteria set, you essentially start fresh with the entire database again.
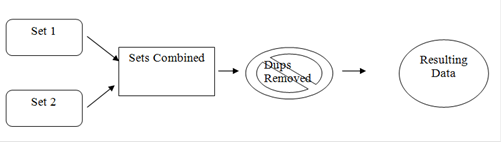
If one record meets the criteria in multiple criteria sets, the record will only be returned once in the resulting data.
So, for example, if you wanted to find records that had a status of member and preferred chapter of Richmond or Northern you would use one criteria set, and it would look like this:
The first field to work with is the status. The status is found in Names file maintenance.
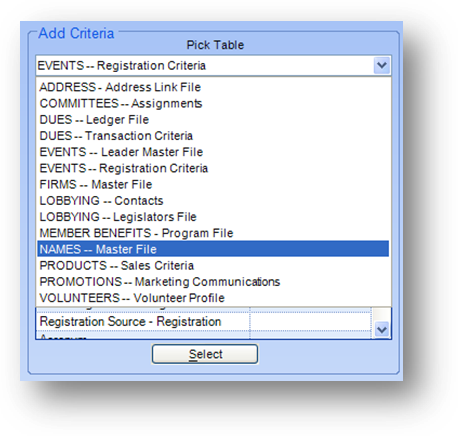
Open the Pick Table drop-down list and select Names – Master File as the table to work with. Once the table is selected the fields from that table will be displayed in the Pick Field grid.
Note: The listings in the Pick Table drop-down list will vary depending on where selection criteria was launched from.
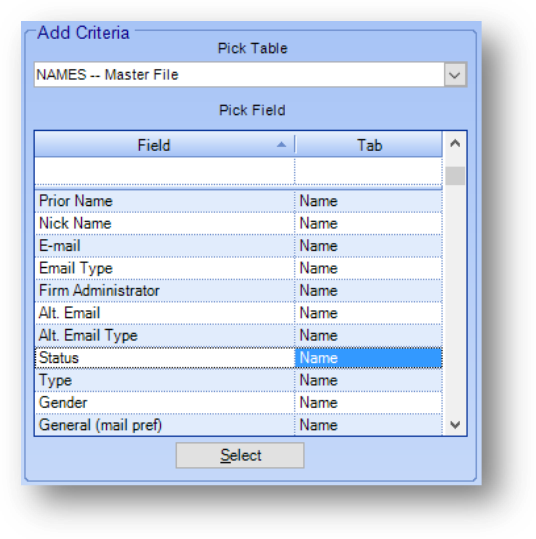
In the Pick Field grid, the default sort is on Tab. Then, within those groupings, each field would be listed in the order in which it appears on that tab within file maintenance. If you would like to change the sort to be on the field name, click on the Field header in the grid. To set the sort back to the default right-click anywhere in the grid and select Default Sort.
Note: There is a filter row at the top of the Pick Field grid that can be used to help locate the desired field. When a field is selected the filter row settings are cleared.
When you locate the field you want, you can select that field either by double clicking it in the grid or by highlighting it and then clicking the Select button.
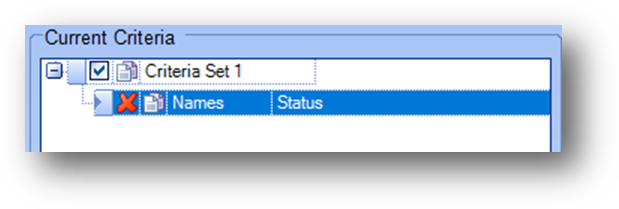
Once the field has been selected, it will be added to the current criteria group under the active criteria set.
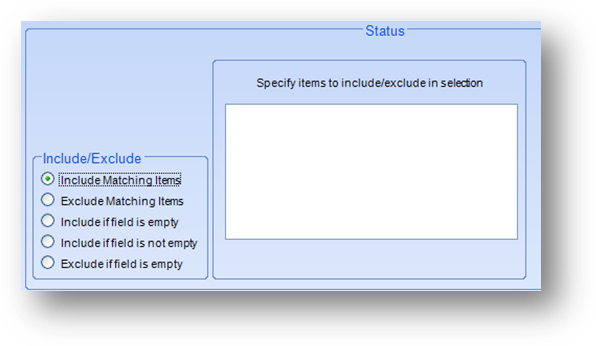
The lower section of the window will also show the appropriate information for the type of field selected. In this case, the status field is a drop-down field, so a list box is shown with include/exclude options.
Click anywhere in the Specify Items to include/exclude in selection box to open the selection window for the field.
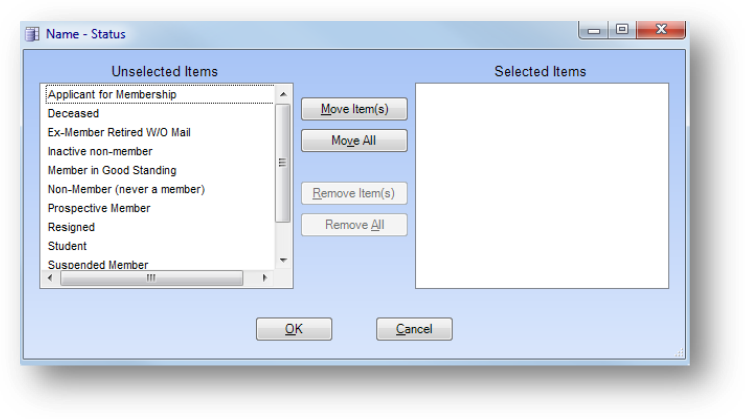
Move the status “Member in Good Standing” from the Unselected Items box into the Selected Items box. You can do this by highlighting the listing on the left and clicking the Move Item(s) button, double clicking the listing on the left, or dragging and dropping the listing from the left box to the right box. Click OK to return to the selection criteria window.
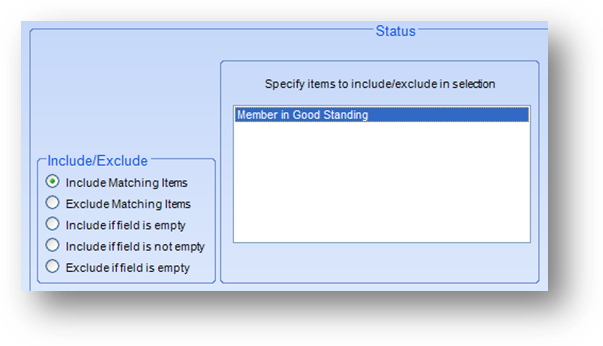
The selected value(s) for the field will now be displayed in the Specify items to include/exclude in selection box. Check that the appropriate include/exclude radio button is selected.
The next field to work with in this example is the preferred chapter. This field is also in the Names file maintenance table so you don’t have to change the Pick Table. Select the “Preferred Chapter” field from the Pick Field grid.
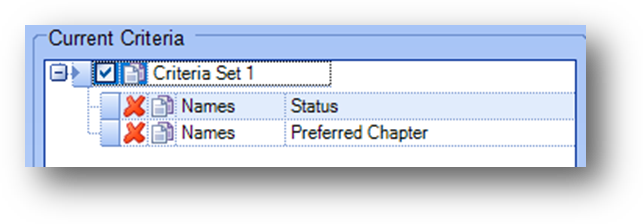
The current criteria will now show both the fields in criteria set 1.
As described above, select the chapter listings to work with.
This query will pull records where the names status equals “Member in Good Standing” and names preferred chapter equals “Richmond” or “Northern”.
To run the criteria, click the Run button at the bottom of the selection criteria window.
If you ran this from an export, label, or mail merge, you will see the number of records pulled shown on the left side of the report wizard.
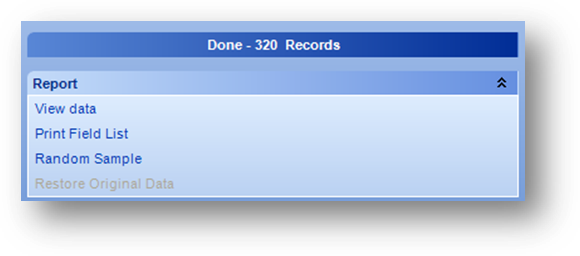
Note: To go back to the selection criteria window, click on the Done bar. The criteria last run will be displayed.
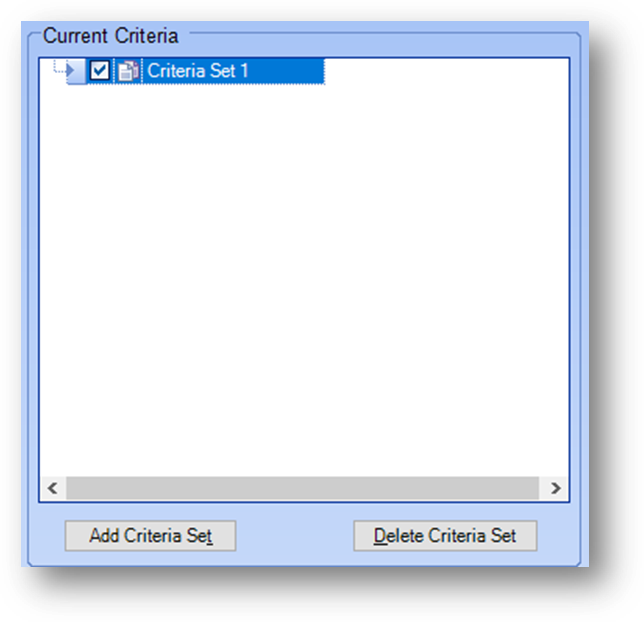
By default, the selection criteria window is opened with Criteria Set 1 in the Current Criteria. You are not limited in the number of criteria sets you can add on the selection criteria window.
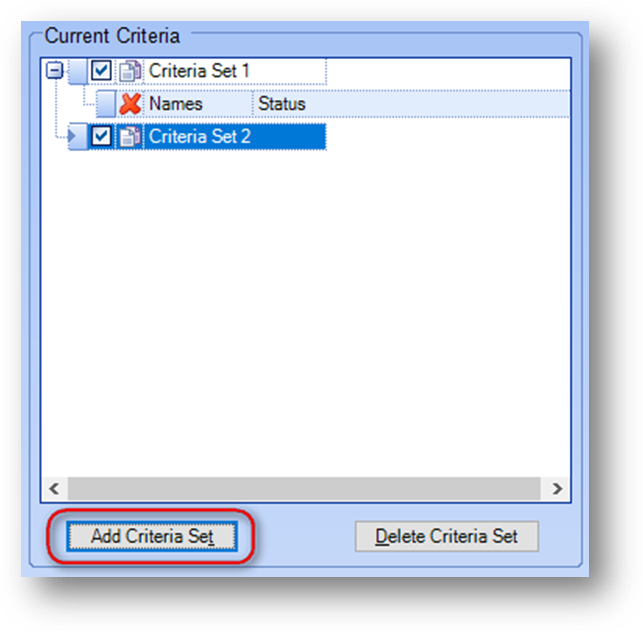
If you need to add additional criteria sets, click the Add Criteria Set button. Note: The number assigned to the new set will be sequential. If you delete a criteria set, the remaining sets are not re-numbered. If you have 5 sets and you delete criteria set 5 the number on the next set added will be criteria set 6.

If you want to copy an existing criteria set, click the Copy Criteria Set icon to the left of the criteria set. A new criteria set will be added with the same fields and criteria of the criteria being copied.

To delete a field in a criteria set, click the red X to the left of the row in the Current Criteria grid.

To delete an entire criteria set, first highlight the criteria set to be deleted and then click the Delete Criteria Set button.
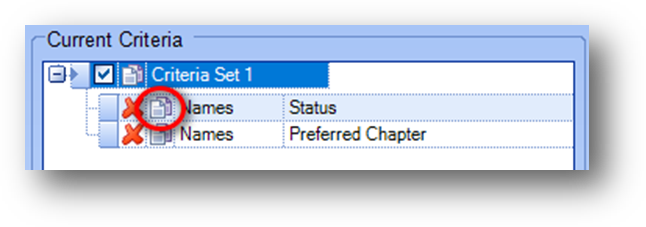
If you want to copy an existing field, click the Copy Field icon to the right of the delete field icon. From the Copy to context menu that opens select either one of the existing criteria set(s) or New Criteria Set. A new field will be added with the same field settings of the field being copied.

To run the criteria without one or more of the criteria sets, un-check the Include Criteria box to the left of the Copy Criteria Set icon on the set(s) to exclude. All un-checked criteria sets will be excluded when the Run button is clicked. To include the criteria set check the Include Criteria box.

To load a previously saved criteria, click the Load button in the lower left corner of the selection criteria window.
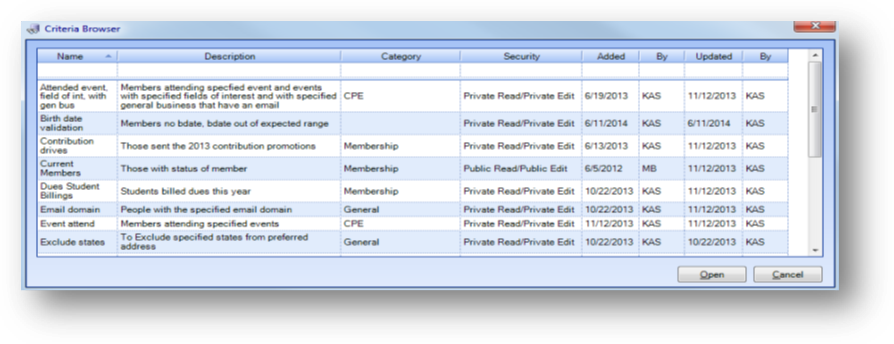
The Criteria Browser window will open, showing all the saved criteria on your system. Either double-click in the Name column on the row in the grid, or highlight the row and click the Open button to open the criteria in the selection criteria window. Note: Any existing data in the Current Criteria will be replaced with the saved criteria being loaded.

If you want to save a criteria that you have created on the selection criteria window, click the Save button in the lower left of the selection criteria window.
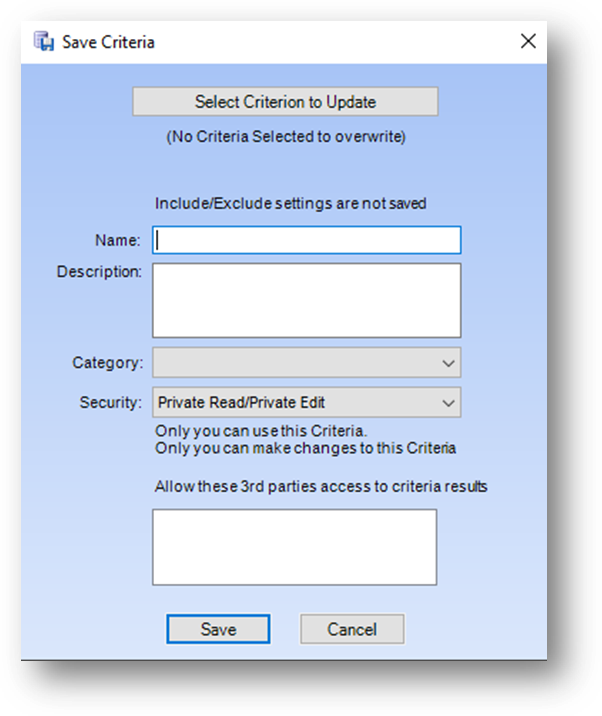
The Save Criteria window will open. If this is an update to an already existing saved criteria, click the Select Criterion to Update button.
Note: The Allow these 3rd parties access to criteria results box is only visible if your association is setup to work with 3rd party vendors in selection criteria.
This will open a window of existing saved criteria. Highlight the criteria to overwrite with the existing setting on the selection criteria window, and click the Open button.
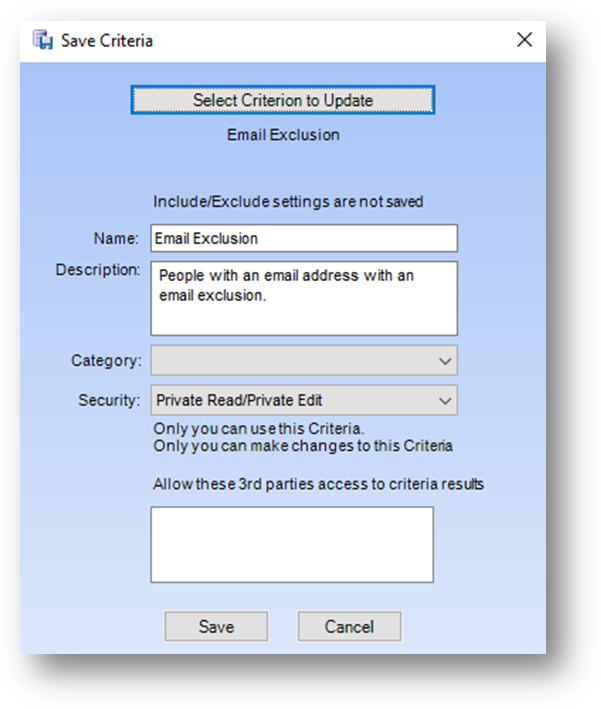
The Save Criteria window will then be filled in with the data from the selected saved criteria. Update as needed and click Save button to update the criteria that is saved.
If the criteria to be saved is new:
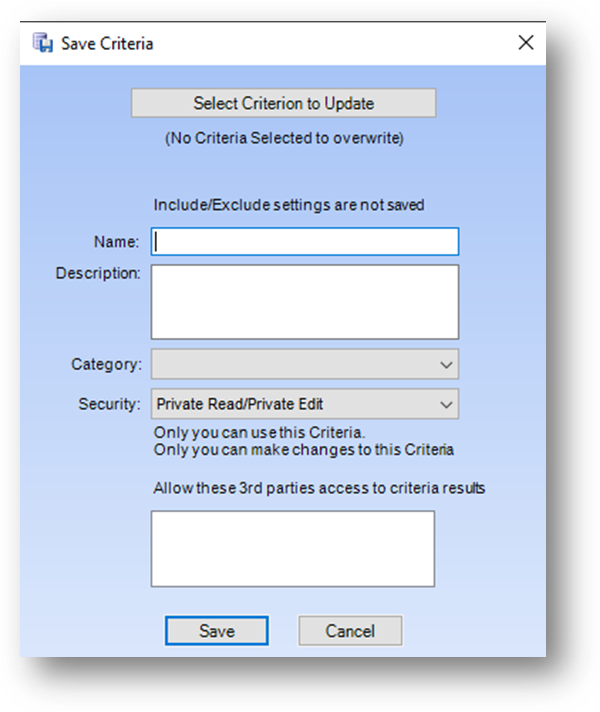
When the Save Criteria window opens, fill in the Name, Description, and Category fields. Select the appropriate Security setting and click the Save button.
To delete a saved criteria, click the Load button to open the Criteria Browser window. Right-click on the row to delete, and select Delete from the context menu.
As noted above, the lower section of the window will show the appropriate information for the type of field selected. Below are examples for different field types.
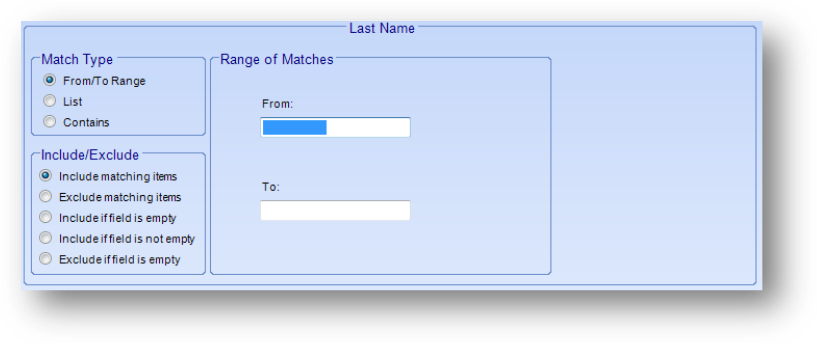
The names last name field is a text field. When the Match Type is set to From/To Range the Range of Matches will show a From and To text field.
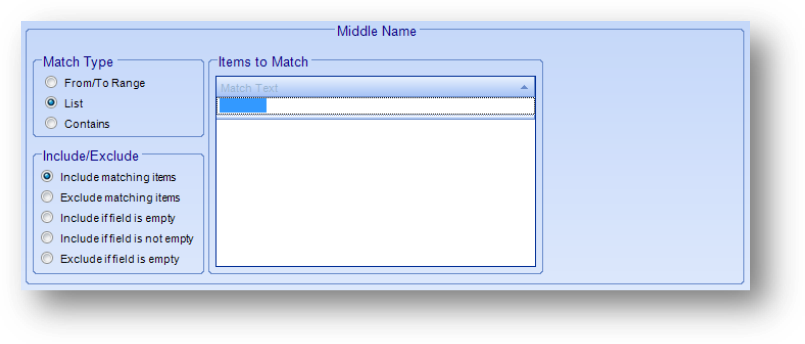
If the Match Type is set to List, the Range of Matches changes to Items to Match. In the top row, enter the text to match. When you hit enter, the text will be added to the list. Keep entering text to match in the top row.
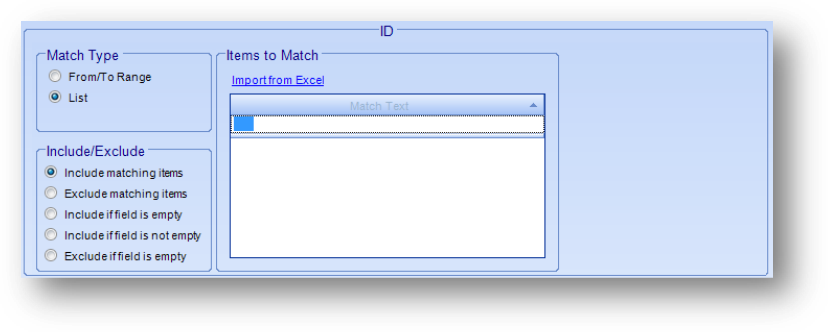
If the Pick Field selected is ID, Firm, or a field setup to hold an email address and the Match Type selected is List, link text for Import from Excel is shown below Items to Match. Use the link text to import Names or Firms ID’s or email addresses from an excel spreadsheet.
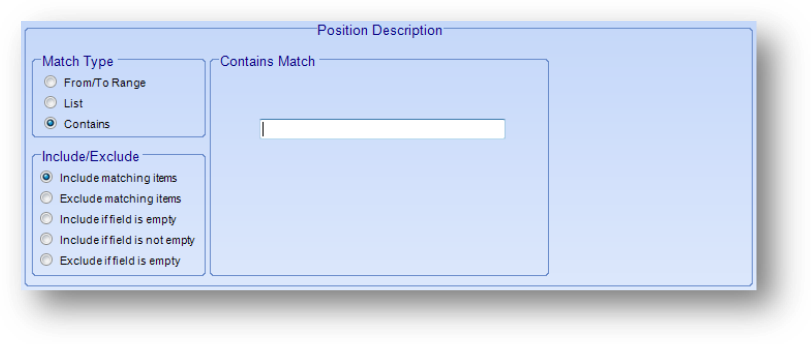
If the Match Type is set to Contains, the Range of Matches changes to Contains Match. In the text box, enter the text you want to match within the field.
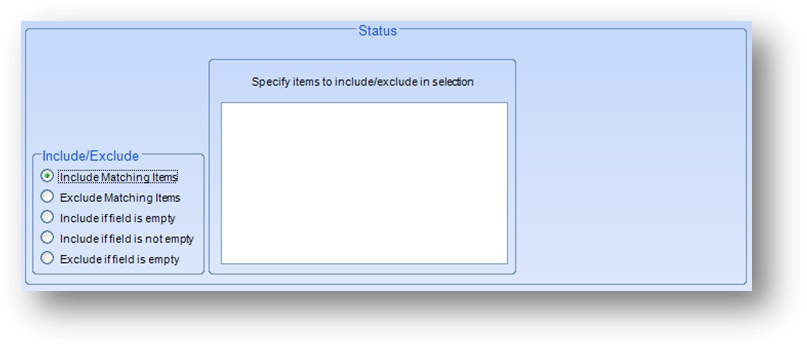
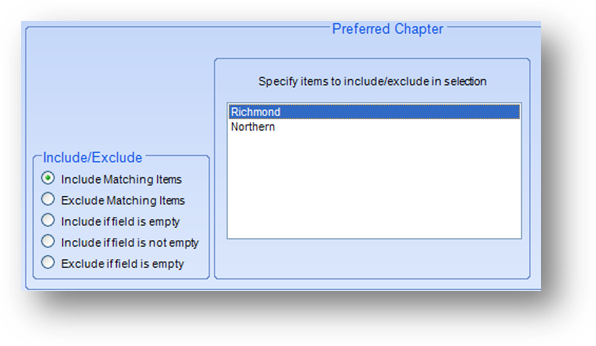
The names status field is a drop-down field. The include/exclude options control how your selection(s) in the field are handled.
Include Matching Items – the record must have a match to one of the listings selected
Exclude Matching Items – if the record has a match to one of the listings selected it is excluded
Include if field is empty – the record is selected if the field is empty
Include if field is not empty – if the record has data in the field it is selected
Exclude if field is empty – the record is excluded if the field is empty
Note: When you select one of the bottom three options, the list box in the middle goes away. That is because for these options no specific listing(s) need to be selected.

The names birth date field is a date field. When the Match Type is set to From/To Range or Odd/Even Year the Range of Matches will show From and To fields for the date range to work with.
Offset has relative date options (ie..7 Days Before, 30 Days After). Select None for no offset to the Date selected.
Date has relative date options (ie..Start Current Month, End Current CPE Yr). To select a specific date, select Specific Date which will then make an additional date field visible for the entry of the date.
Note: The relative date listings for Month and Year are relative to the current calendar date not what is set in the accounting calendar.
Note: The relative date listings for CPE Year, Dues Year, and Fiscal Year use the accounting calendar to determine the month and the calendar date to determine the year for those relative dates.
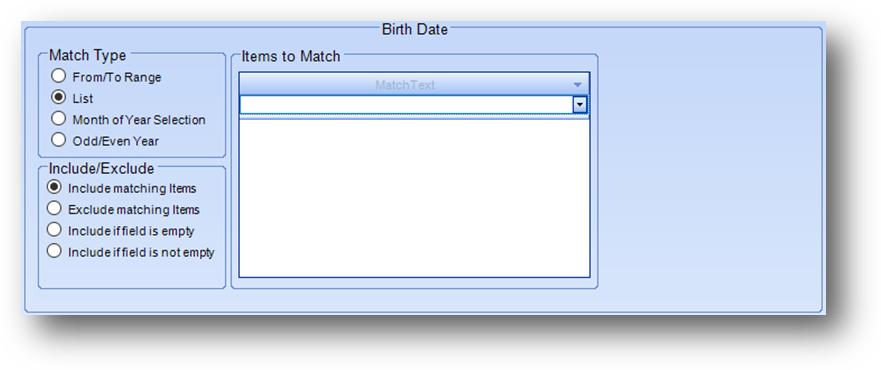
If the Match Type is set to List, the display changes to Items to Match. In the top row, enter the date to match. When you hit enter, the date will be added to the list. Keep entering dates to match in the top row.
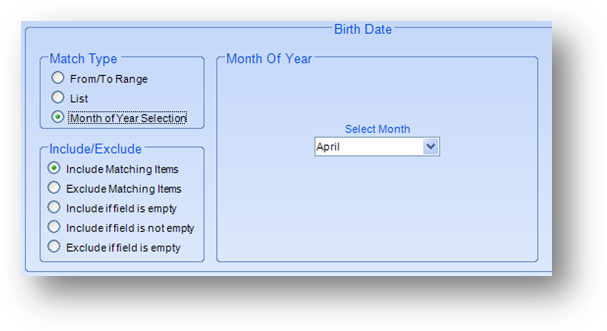
When the Match Type option of Month of Year Selection is selected, you will need to select the Month of Year from the Select Month drop-down list.
Odd/Even Year differ Include/Exclude
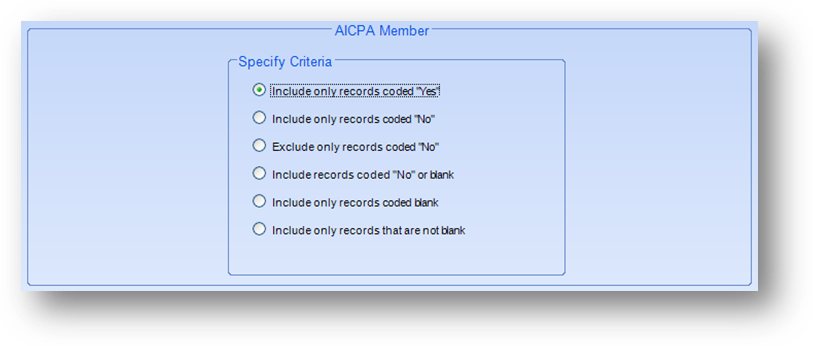
The names AICPA member field is a check box (yes/no) field. Note: In some fields, the value in the field can also be blank. Depending on the field, a blank value can either be equal to “Yes” or “No”.
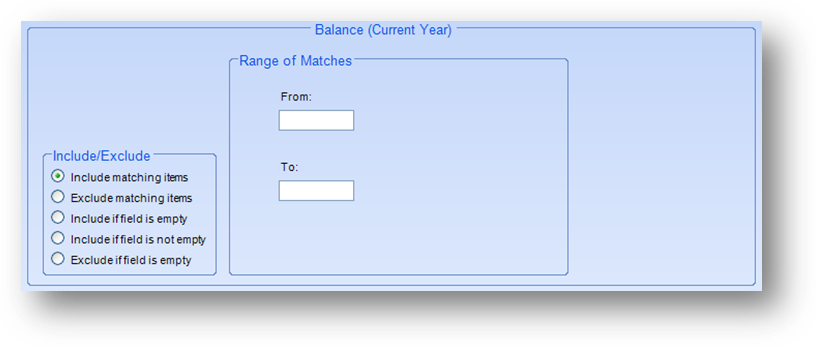
The dues balance field is a numeric field.
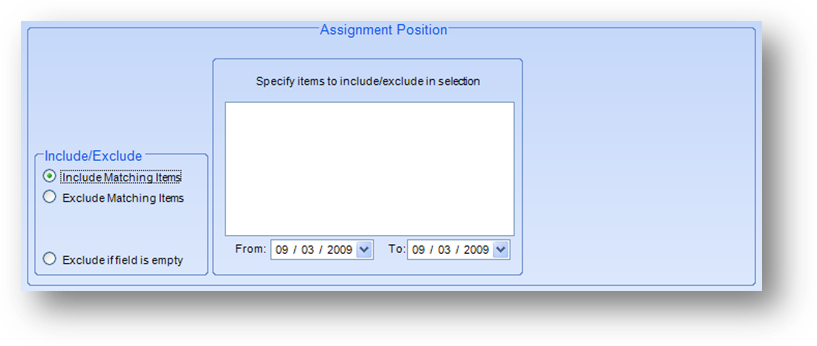
The committee’s position field is a drop-down field. Here the Assignment Position is also looking for service dates.
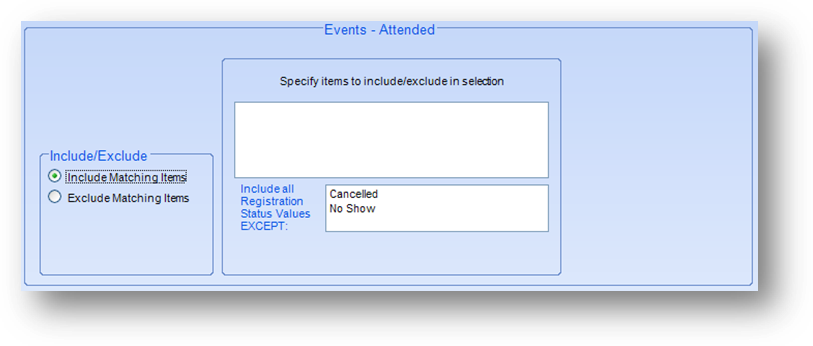
The Events Attended field is pulling data from the events ledger. There is a second list box for the associated registration status. By default, this field is set to exclude cancelled and no show.

For fields to select an event, on the Select Events window link text for Import from Excel is shown above Move Item(s) button. Filter fields for CE Year, Fields of Study and Include Webinars are shown below Cancel button. Note: There is a user preference for the default setting of the Include Webinars filter.

Use the link text to import Event Code and Year from an excel spreadsheet. There are options to work with a spreadsheet with event code and year in one column or in separate columns.
Watch the Getting Started in Selection Criteria video:
Watch the Field Types and Input Options video:
Watch the Creating Queries video:
Watch the Working with Saved Criteria video: