
Purpose: When a report is launched the report wizard window opens. The report wizard allows you to set report parameters, run the report, preview, print, send via email, and save to a file.
Launch Point: Report dashboard
Example:
When you launch a report
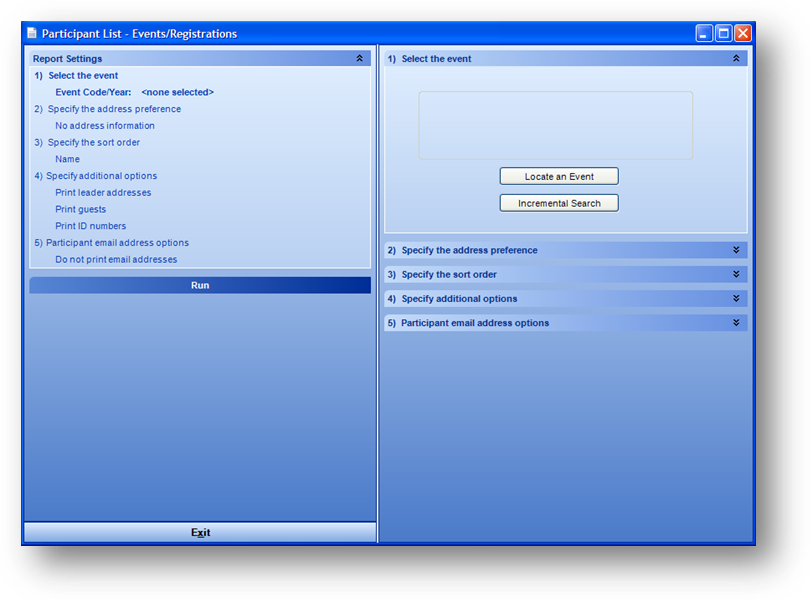
The report wizard opens. Each report step is set to the most commonly used setting in an effort to save time. The settings for each step are displayed in the Report Settings group in the upper left of the window.
If all the steps on the report can be seen when expanded without having to scroll, then by default all steps will be expanded. Otherwise only step 1 will be expanded.
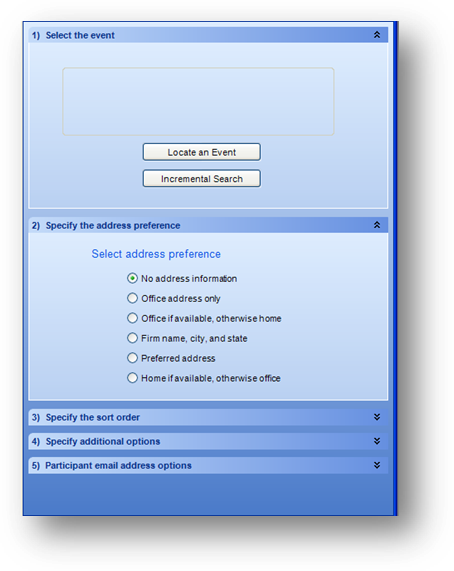
To expand a collapsed step, on the right side of the wizard you can click anywhere on the step title bar for that step, or click anywhere on the step in the report settings group in the upper left of the wizard. Note: when you select a step by clicking it in the report settings group, all other steps will be collapsed. To collapse a step on the right side of the wizard, click anywhere on the step title bar for that step.
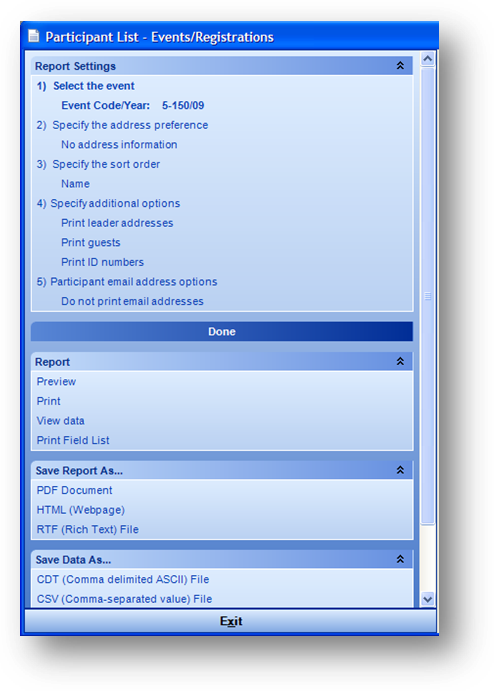
After running the report, additional groups are displayed below the run bar on the left side of the wizard.
The report wizard is made up of 11 areas or groups detailed below.
The number and information in the list of steps will vary for each report. The settings in the steps modify the information in the report.
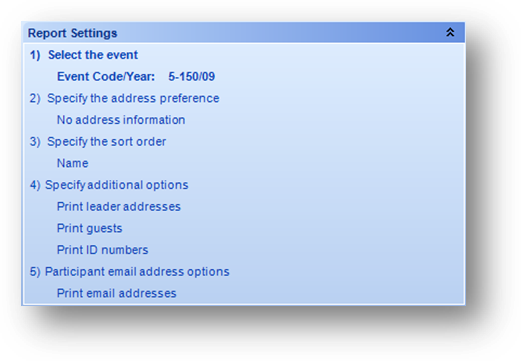
The Report Settings group is a recap of the current settings in the report steps.

The Run bar is used to run the report with the current settings. The text on the run bar initially is set to “Run”. The text changes to “Done” once the report has been run. If a step setting is then changed, the text changes to “Run (Re-extract data)”. Note: if the report uses the selection criteria, you can get back to the selection criteria window by clicking on the Run bar. The settings in the selection criteria window will remain as long as the report wizard window is not closed.

If the report being run is an export, label, or mail merge, then a record count is shown.
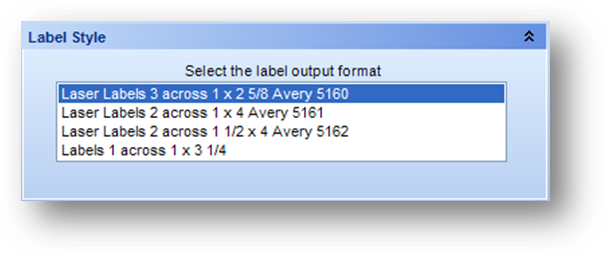
If the report being run is a label, then a Label Style group is displayed. This lists the available label layouts.
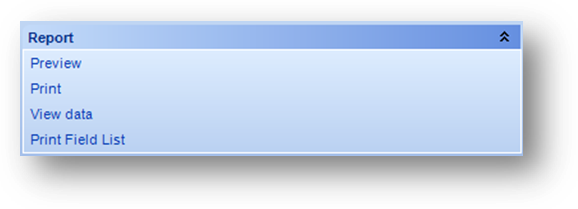
The Report group is shown when the report run has a printable output.
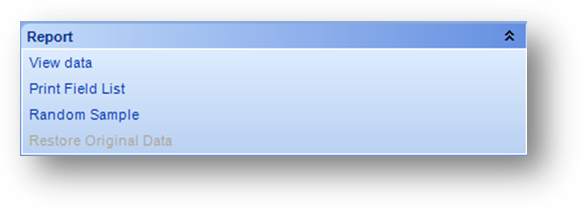
When the report being run is an export, label, or mail merge, the listings in the Report group are different.
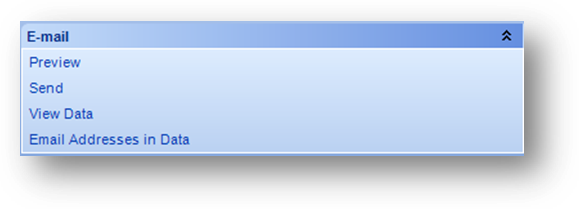
If an email report format is output, then the E-mail group is displayed. If in the E-mail group there is just one email to be sent, when you click Send the below message will be shown.
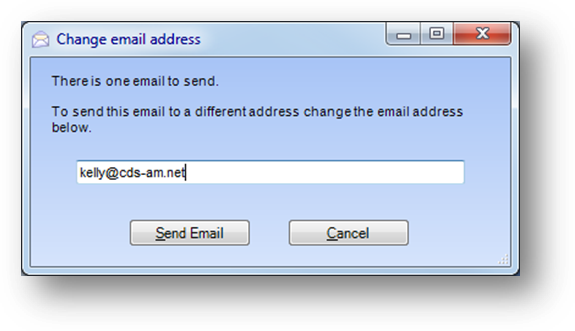
The email address the one email will be sent to is shown. If you want to send the report to a different email address enter it here. Click Send Email to send the report to the email address currently shown.
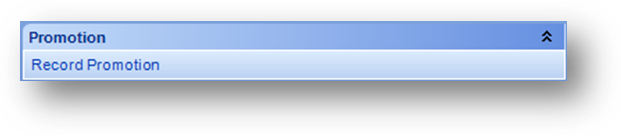
If the report is a Names export, Names label, or Names mail merge, the Promotion group will be displayed. See the document on Record Promotion for how to utilize this option.
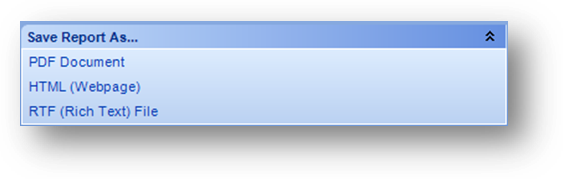
The printable report can be saved in various formats shown in the Save Report As.. group.
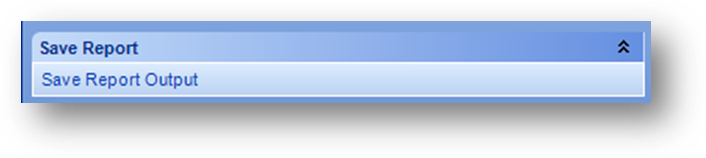
If the report can be saved, the Save Report group will be displayed. All data in both the report (print) and e-mail groups are saved. See the document on Saved Report Explorer for how to view the saved report output.
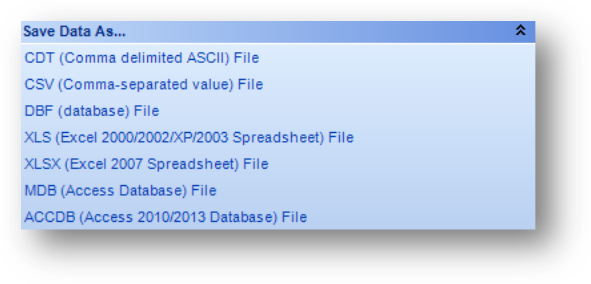
The raw data for the report can be saved in various formats, shown in the Save Data As.. group.
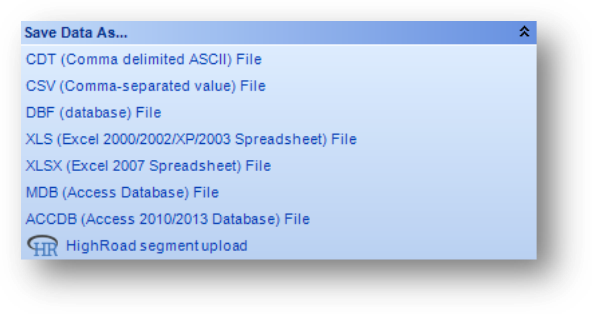
If your system is configured to connect to HighRoad you will see an additional listing for HighRoad segment upload. Contact CDS support to have your system configured to connect to HighRoad.
Note: Currently only three reports use this functionality (Names Export/View, Names Email Export, and Names Mail Merge).
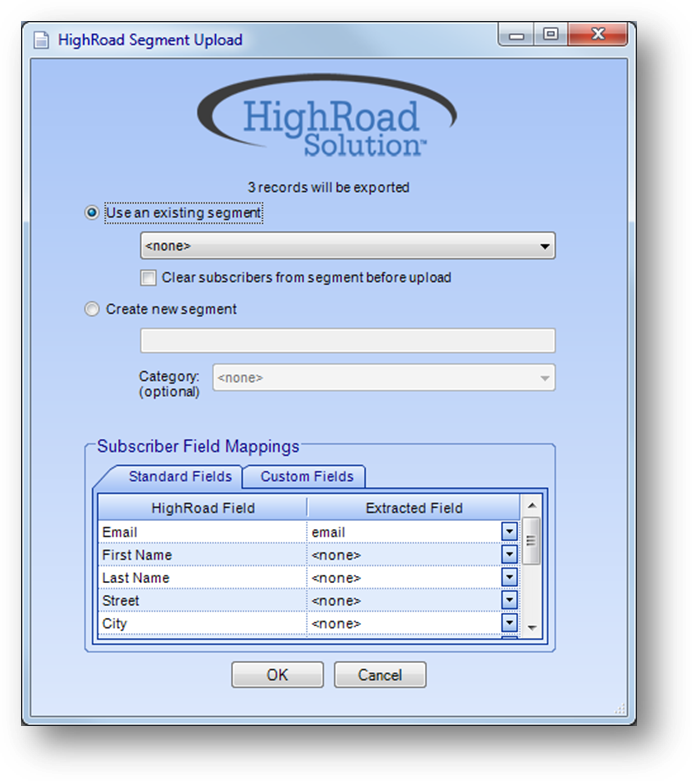
The HighRoad segment upload screen allows you to export the report data to an existing segment or create a new segment at HighRoad. When you create a new segment you can also select the category it should be associated with. If you select an existing segment and you want to clear any existing subscribers prior to the upload check the Clear subscribers from segment before upload box.
Use the two tabs in the Subscriber Field Mappings group box to assign fields in the report data to a HighRoad field.
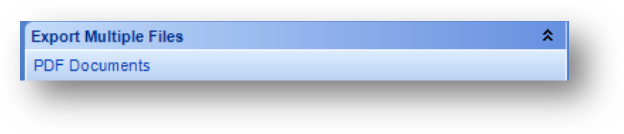
If the report is setup to create multiple export files, the Export Multiple Files group will be displayed.
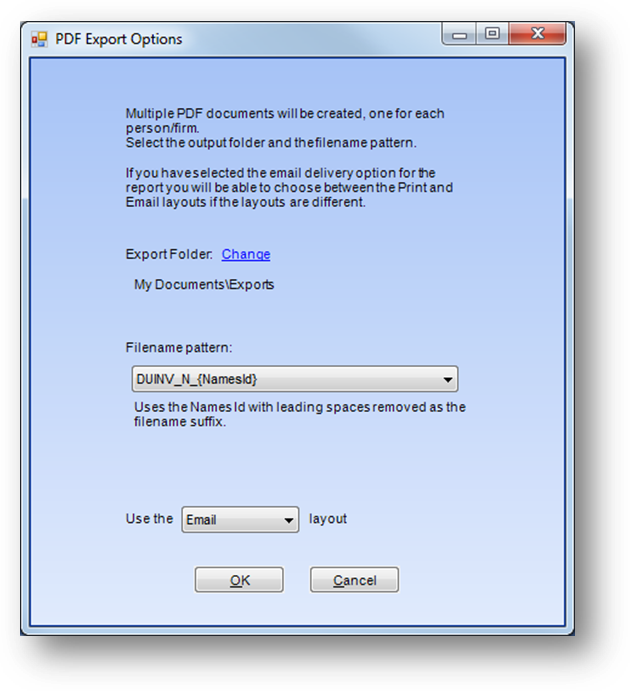
Select PDF Documents to create one PDF document per person/firm. The PDF Export Options window will open. Note: the layout option at the bottom will only be available if you have selected the email delivery option for the report and the print and email layouts are different.

The Exit bar is used to exit from the report wizard.
Watch the Report Dashboard and Wizards training video: