Purpose: To enter a registration for an event.
Note: If the event is a bundle event, the registration in the bundle event will automatically register the person in all future events in the bundle (shown on the Events File Maintenance Bundle tab).
Note: For bundle registrations there is a parameter that controls if the confirmation date, on the registrations entered for the events in the bundle, is populated at the time of the registration. The default setting is to not populate the confirmation date which is what happens for non-bundle registrations. Contact CDS support if you want the parameter set to populate the confirmation date so the registrations for the events in the bundle will not be recognized as new registrants. This parameter does not affect the bundle confirmation.
Launch Point: This routine can be launched from the following location(s):
•Names → File Maintenance → Routines Drop-Down Menu →
•Names → File Maintenance → Event Tab → Context Menu on Registrations Grid →
•Names → File Maintenance → Event Tab → Add button (lower left corner of window)
•Utilities → Routines → Cash Receipts → Cash Receipts Batch Entry → Event Payments →
Example: When the routine is launched a window will open
|
|
|
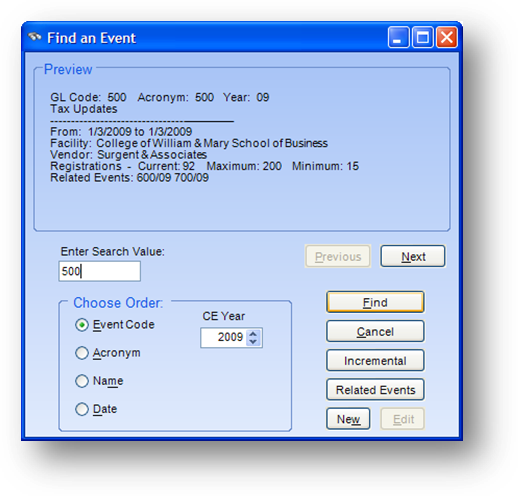
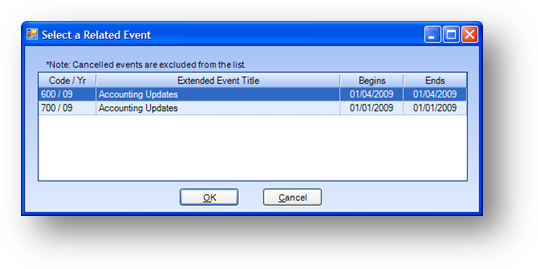
On the event search window select the event into which you want to register this person. Other events that are specifically related (i.e. shown on the Related Events tab in events file maintenance) to the selected event can be seen by clicking the Related Events button. If the person wants to register for one of the related events instead of the event on the search window, just highlight the event in the related event grid and click OK. After the event is selected the registration window will open.
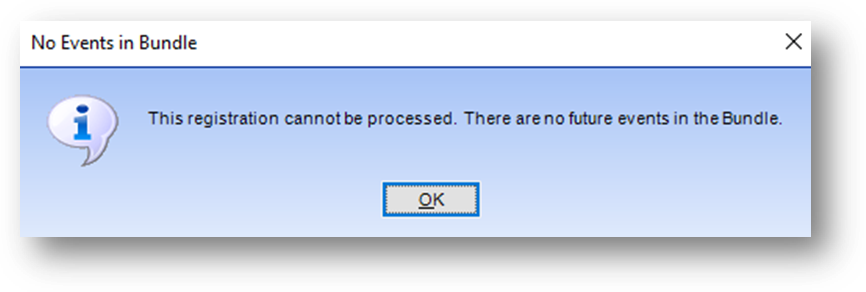
When a bundle event is selected, this message is shown if either there are no events on the Events File Maintenance Bundle tab or if none of the events on the Bundle tab have an end date in the future.
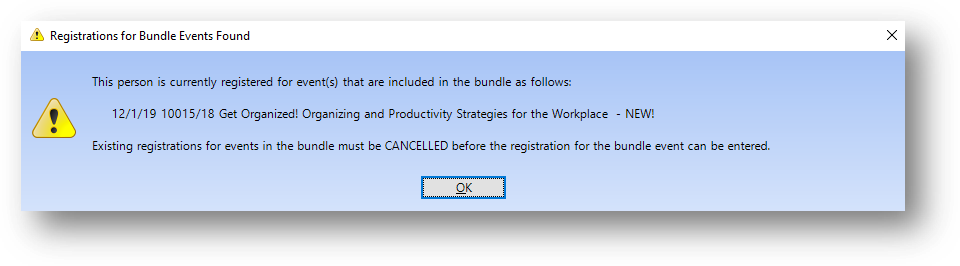
When a bundle event is selected, this message is shown if the person is already registered in any of the future events in the bundle. Existing registrations in the event(s) listed must be cancelled before the registration can be entered for the bundle event.
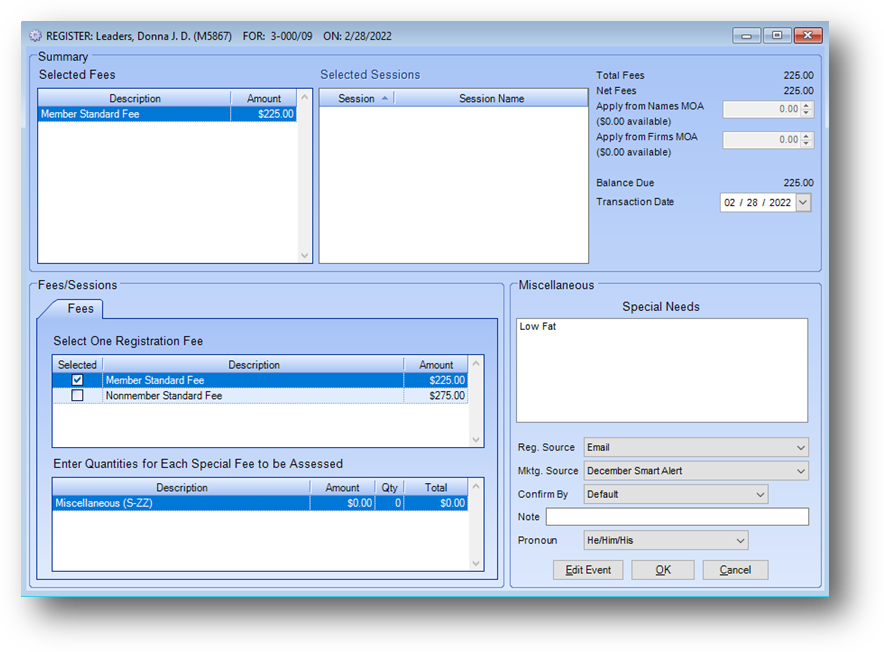
On the registration screen the top Summary group of the window will show the fees selected, session(s) selected (if applicable), recap of fees and money applied, and the transaction date. The lower portion of the window has the Fees/Sessions and Miscellaneous groups. The Fees tab shows all available fees and the Sessions tab (if applicable for the event) shows all available sessions for the event. The Miscellaneous group is where you can enter information like the registration source, marketing source, special needs, and confirm by method.
Note: the window and fields can vary depending on the type of event and available options for that registration.
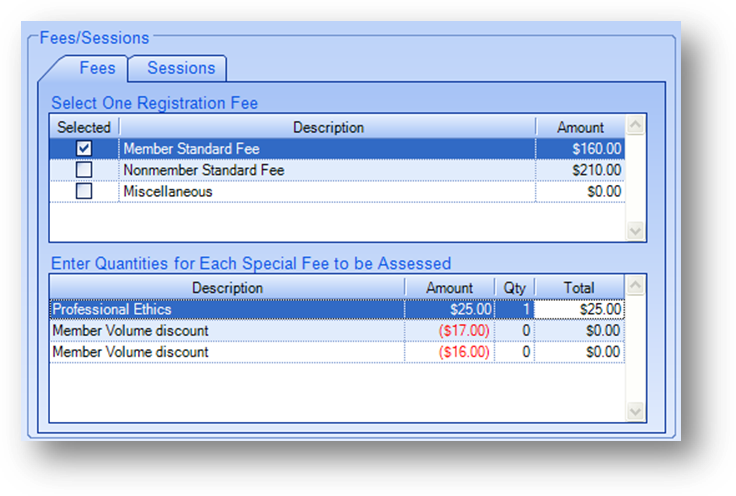
On the Fees tab, the top grid displays all the registration fees from the event, and the bottom grid shows all of the special fees. You can only check the Selected box on one of the registration fees at a time. In the special fees grid, you can multiply the number of times a fee is applied for the registrant, by changing the quantity (Qty). A registration can have as many special fees applied as are required.
Note: When the CPE sales tax functionality is turned on and the event has a tax rule selected, for registrants where a sales tax would apply will see “XX Sales Tax” fee listed in the Enter Quantities for Each Special Fee to be Assessed grid with Qty set to 1 and Amount calculated by multiplying the Tax Rate and the net of other selected fees. With Qty set to 1 the special fee is also show in Selected Fees grid. The sales tax fee amount is updated as fees applied are changed. See CPE Sales Tax Function.
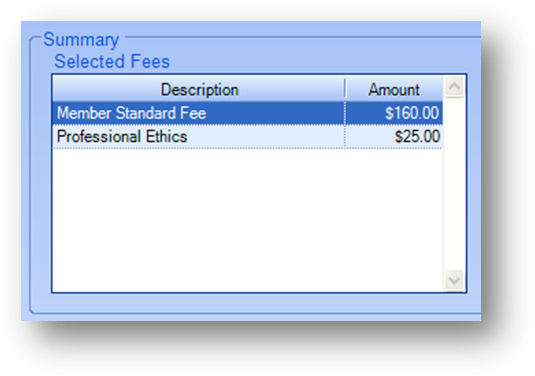
As you select a fee to apply to this registration it will be shown in the Selected Fees grid in the Summary group at the top of the window.
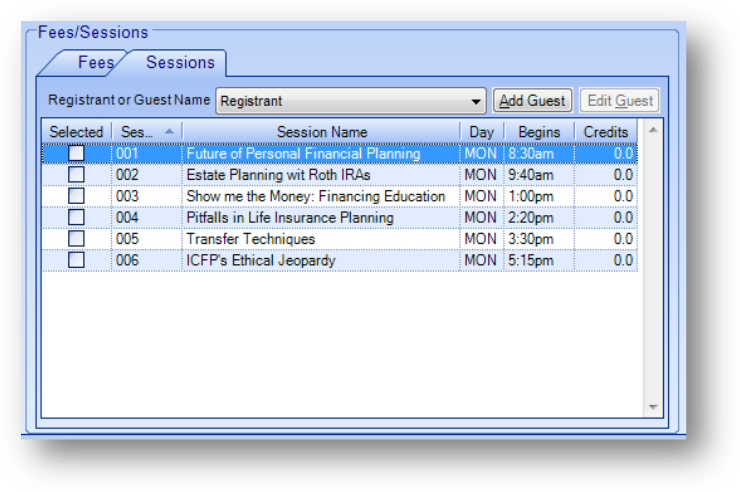
When the event for which you are registering a person has sessions, a Sessions tab will be displayed. To select the sessions to register this person into, check the Selected box.
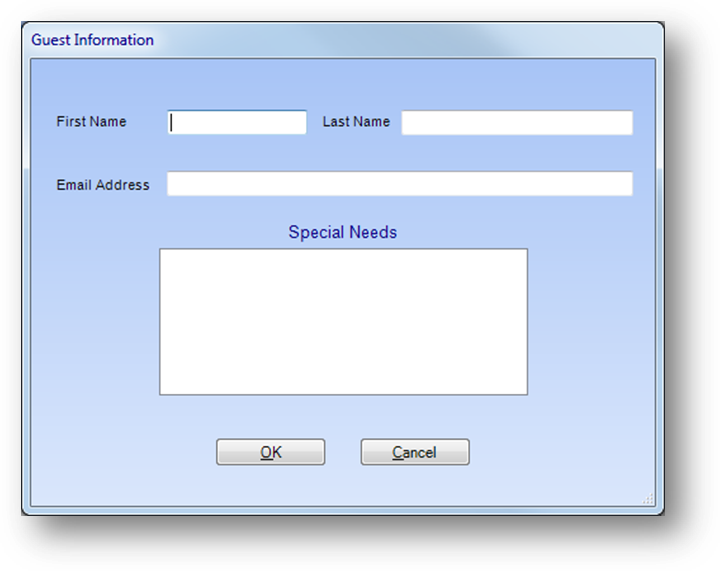
If there will be a guest attending any of the sessions, you can enter the guest by clicking the Add Guest button. Enter the guests name, Last Name is required, and click OK.
Note: If you want the Email Address to be required on a guest go to File – System Preferences. Navigate to Events – General. Check the box for Require email for session guests.
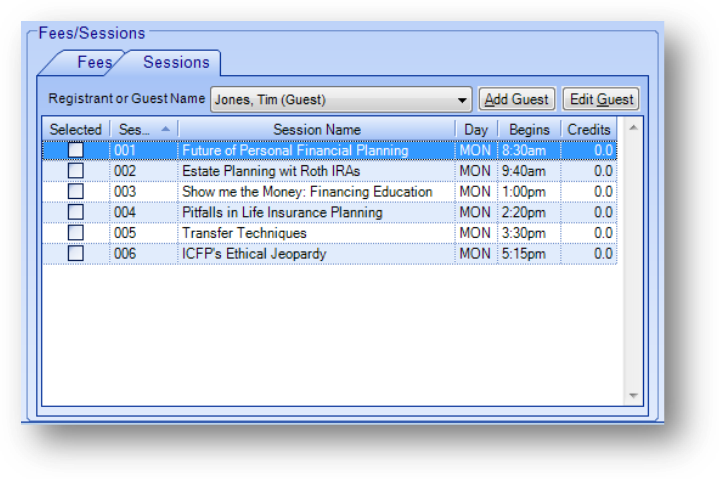
Now the guest name will be displayed in the Registrant or Guest Name field above the sessions grid. Check the Selected box for all the sessions that this guest will be attending. Repeat this process for any additional guests to be listed for this registrant.
Note: The Edit Guest button allows you to re-open the guest information screen for the guest currently displayed in the Registrant or Guest Name field.
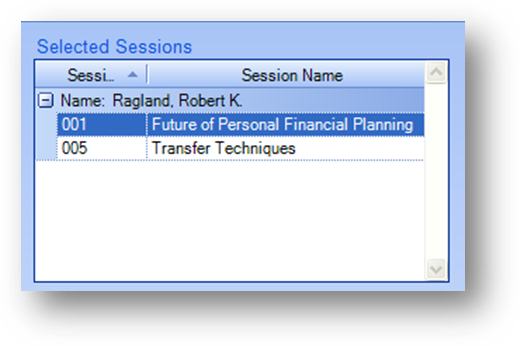
As you select session(s) to apply to this registration, they will be shown in the Selected Sessions grid in the Summary group at the top of the window.
Once the registration window has been completed, click OK. At this point the event registration is posted.
The next window that is seen will depend on your original launch point. If you launched the routine from the event payment window in a cash batch, then you will be taken back to the event payment window.
If you launched the routine from any of the other three launch points, the credit card payment window will open. This is done as a convenience for the user. If the registrant will not be giving you a credit card number at this time just cancel the credit card payment window. Remember that the event registration is already posted, so cancelling this window will not affect the registration.
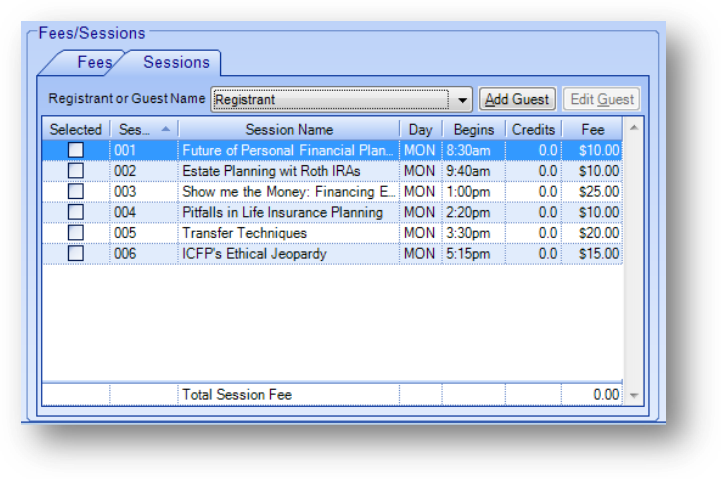
Note: If you have your system set to work with session fees (see Post fees on session registrations in the Events General area of System Preferences) there will be an additional Fee column in the grid on the Sessions tab.
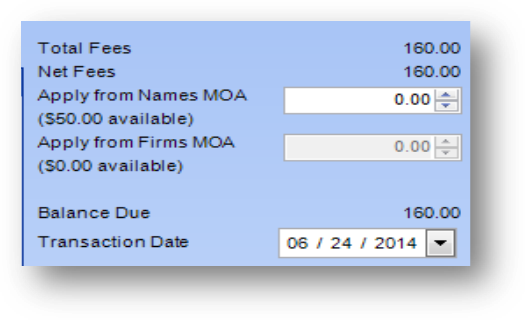
On the right side of the Summary group the Net Fees and Balance Due are shown. If any of the payment is to be made by using Money on Account, enter that amount in the appropriate field.
Note: the amount of available Money on Account will be shown. You cannot enter an amount that exceeds either the available MOA amount, or the total amount to be paid on the registration.
Once the registration window has been completed, click OK. At this point the event registration is posted.
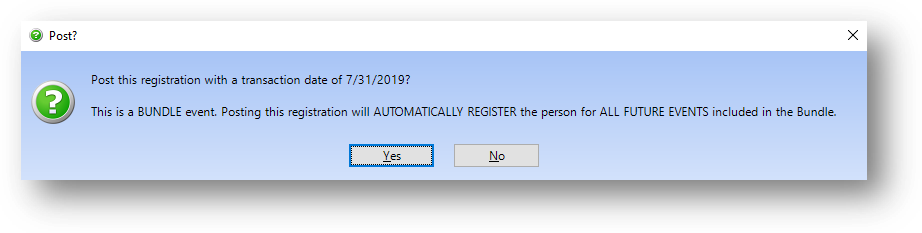
When a bundle event is selected, the post message shows that the registration is for a bundle event and that if you proceed the person will be registered into all future events in the bundle.
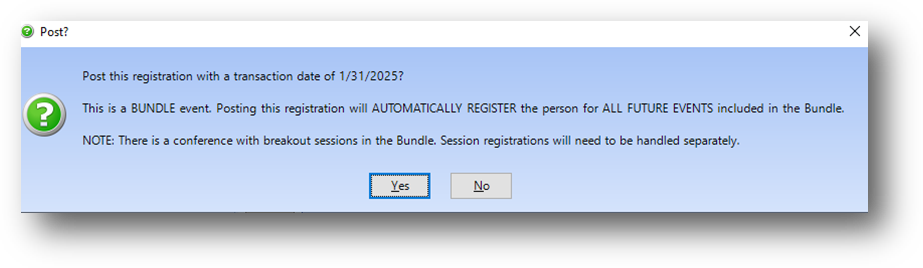
A third line of text is shown in the post message noting session registrations must be handled separately if any event in the Bundle has Sessions set to Yes, on the Events Name tab, and any session, in those events, are breakout session (General Sessions? box is un-checked on the Name sub-tab of the Events Sessions tab).
To post the registration in the bundle event as well as future events in the bundle, click Yes.
Note: For bundle events no matter what or how many fees were selected for the registrant in the bundle event, the registrations into the events in the bundle ONLY have one bundle fee entered with an amount matching the transfer amount described above.
If the routine is launched from Names File Maintenance, then you will be required to enter a credit card for the payment unless the full amount to be paid was applied from Money on Account.

NOTE: Remember that for registrations into a bundle event, at this point the transfers have already been entered from the bundle to the events in the bundle. So if a payment is not entered the registration in the bundle event will show 0 net fees and a negative net paid.
Watch the Event Registration video:
See also